With this type of spade connector the cover cannot be pulled back but you can test the voltage on the wire but putting the meter or test-lamp probe in alongside the wire, as well as reach the spade.
You can't pull the connector off the spade by pulling on the wire as a sprung pin on the connector engages with a hole in the spade. Slide the cover back to depress the spring and move the pip out of the hole to release the connector from the spade. Remember electrical tests need to be done with the connector on the spade, not removed from it.

This type has a translucent insulating cover than can usually be slid back to expose both connector and spade for testing. A small pip on the connector engages with the hole in the spade to prevent the two from vibrating apart, but doesn't need to be depressed for removal, just give the connector - not the wire! - a tug.

... with bullets both sides and sleeves accessible with a test probe.
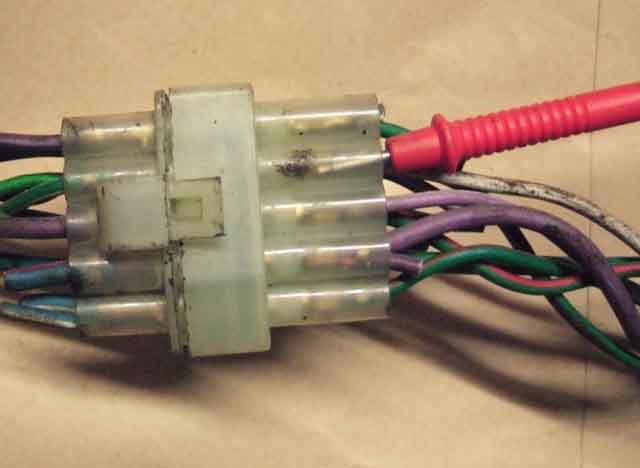
Translucent multi-plug where a probe can be inserted alongside the wire to reach the pins, both sides.
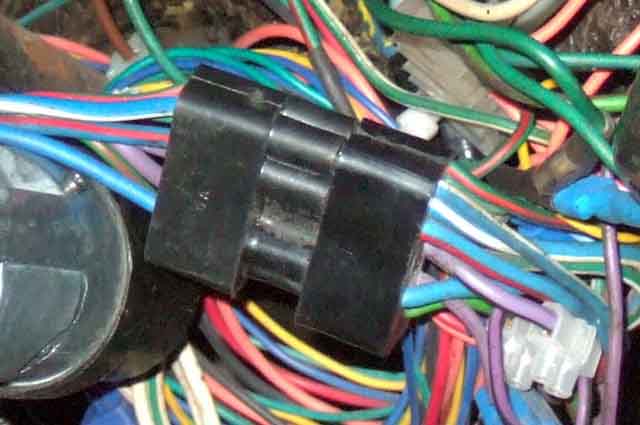
However black and grey multi-plugs are usually moulded onto the wires with no access from the back. In this case all you can do is slightly part the connector just enough to expose the pins, and even then only the pin-side.
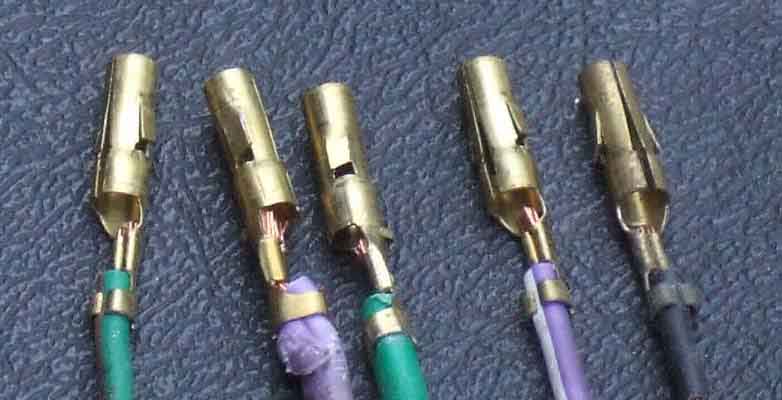
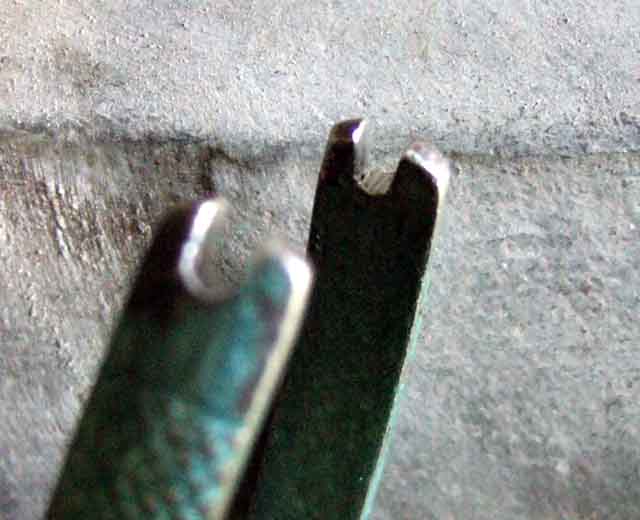
Connector pins can be teased out of the non-moulded type by sliding a bit of tubing over the open end, to depress the two little tabs that can be seen here:
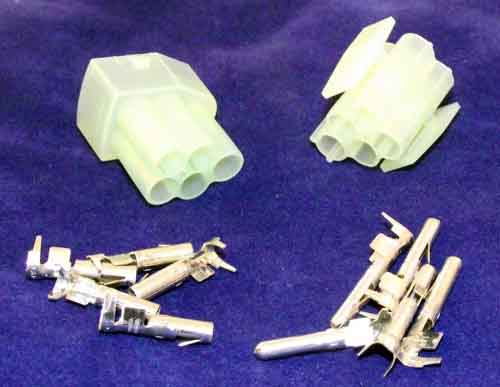
For projects and modifications Autosparks sell multi-way kits in 1, 3, 4, 5, 7 and 9 pin configurations - at a price!
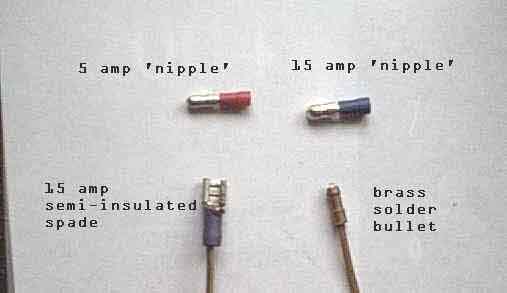
Bullets for use with MGB bullet connectors. Crimp-type need a special tool that acts on the neck of the bullet. Don't use the insulated crimp-type bullets as the red ones are too small and the blue ones too large for the standard connectors: (Nigel Atkins)
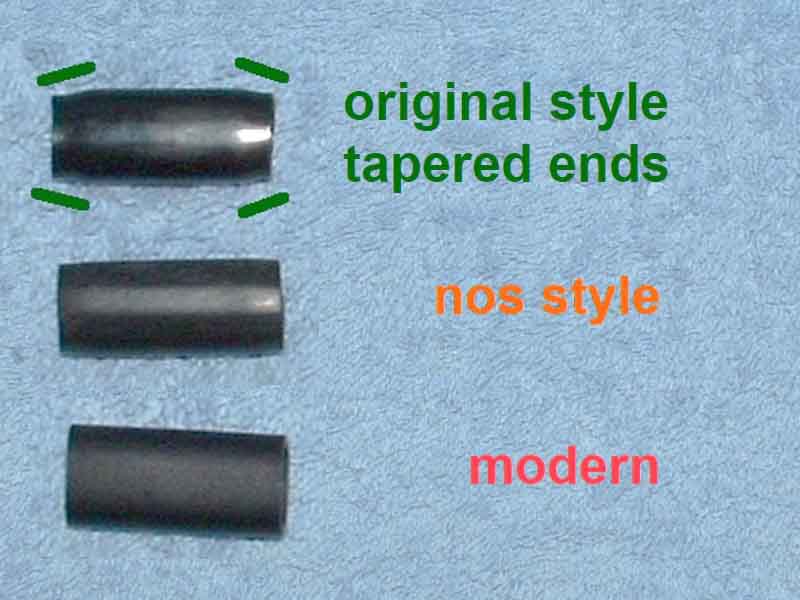
Typical original (top) and current stock (bottom) bullet connectors. The original have rubber sleeves slightly smaller than the metal part so is a tight fit. Modern stuff uses plastic sleeves of these same size so the metal part can easily slide out of the insulator and short out on surrounding components: (Nigel Atkins)
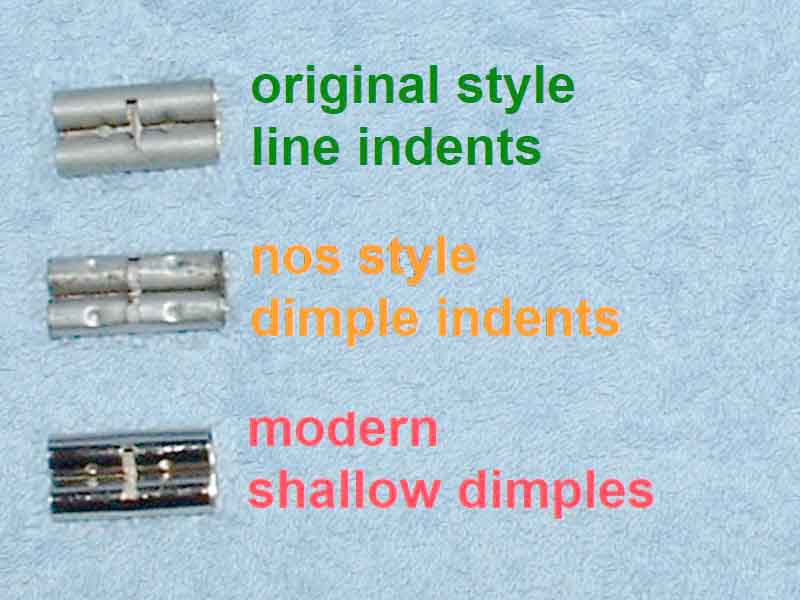
Original connectors have a pronounced dimple that the head of the bullet must be pushed past to snap into position, which also retains it very firmly. Modern connectors have a much less pronounced projection so the bullet can be pulled out more easily: (Nigel Atkins)
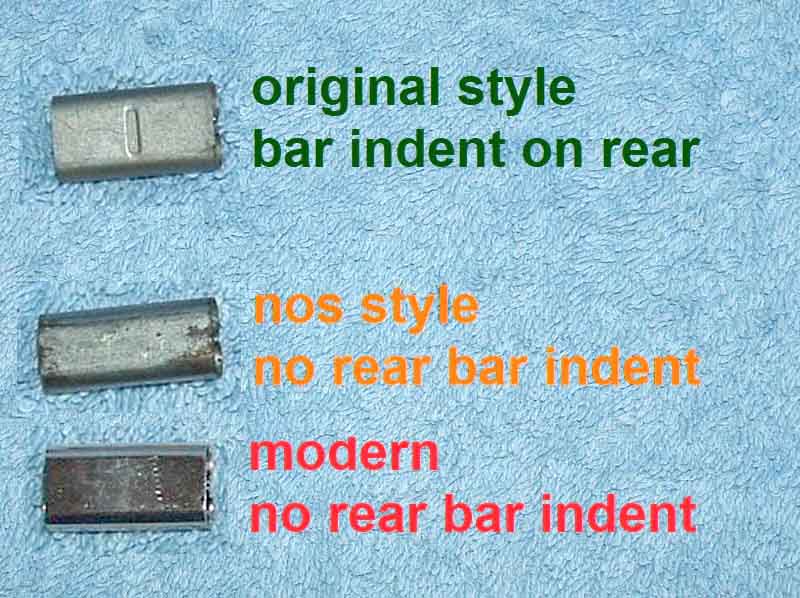
Original connectors have another projection in the middle of the metal part (arrowed) which helps prevent one bullet being pushed too far in, so preventing its opposite number being pushed in far enough. Modern connectors don't have this: (Nigel Atkins)
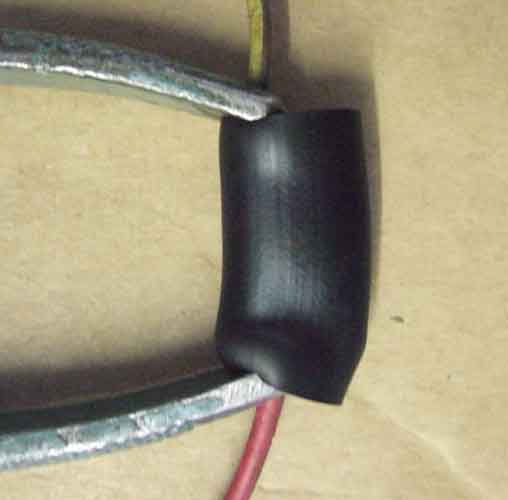
For easy of assembling cut a notch in the handles of a pair of pliers just large enough to slip over the wire but press on the back of the bullet.
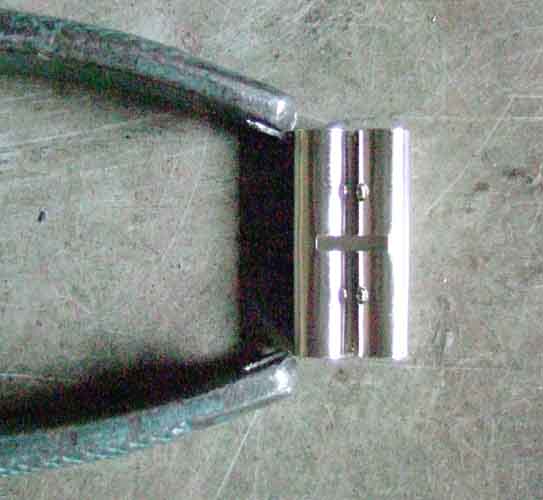
Make sure the closed distance between the handles is less than the length of the metal part of the connector or the bullets won't be pushed in far enough.
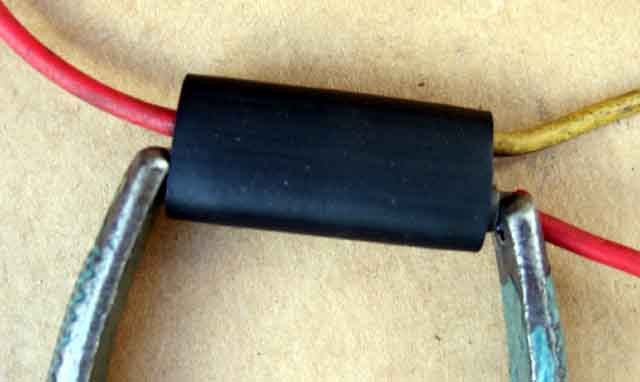
Preparing to push the bullets in ...
... squeeze until the outer covering is compressed ...
... and the back of the bullet is flush with the end of the metal part.
'Odd' bullets i.e. only 3 wires are dealt with in the same way. Finally make sure the metal part is centralised in the outer covering
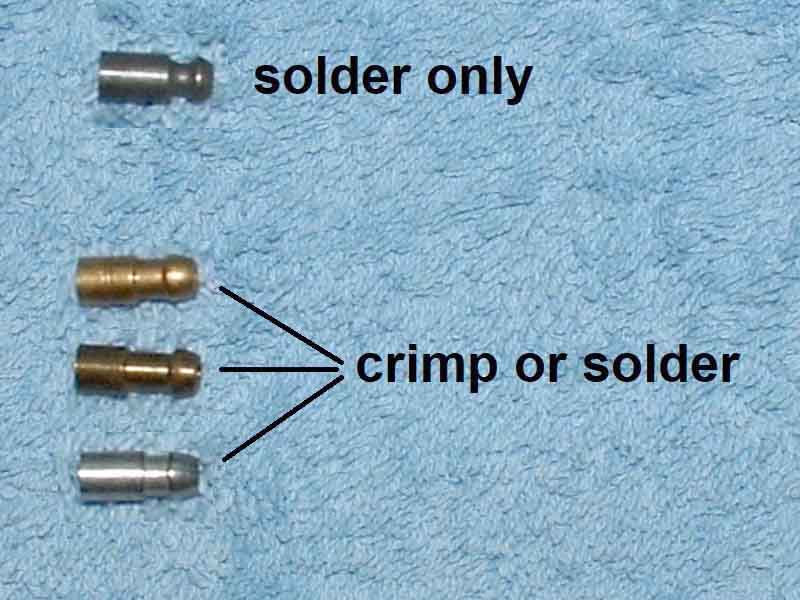
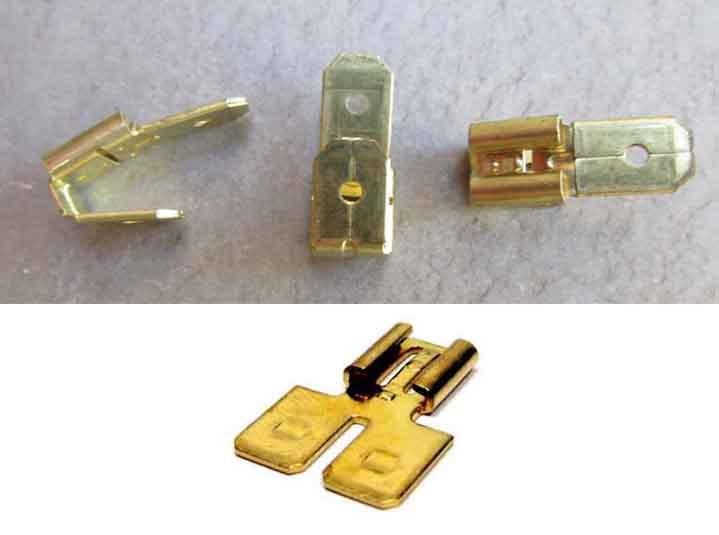
Various after-market crimp bullets (which don't fit the original bullet connectors) and spades, and an after-market solder bullet which does fit the original connectors.
Piggy-back connectors, very useful for daisy-chaining additional circuits off existing spade connections.

Another very useful gadget - a 'Y' adapter when you need to connect two existing females to one male. Saves changing one of the females for a piggy-back. Available from UK, two in America, in side-by-side or back-to-back configuration, another here in side-by-side configuration, and one in Australia.
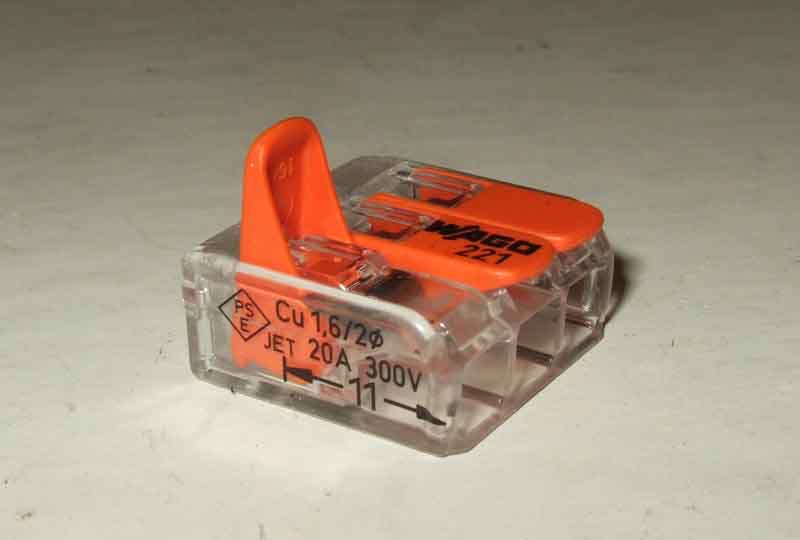
If you need to power several additional circuits from the same power supply whilst you could piggy-back off piggy-backs it's not the best. For those situations you can use one piggy-back to pick up the supply from a convenient location, and take that to one of these WAGO221 connector blocks which allow you tee-off anything up to four other wires. You could cut a factory wire but that would take up two positions and personally I don't like cutting in to factory wires if it can be avoided. Rated at 450v and 32A (although when mine came they are marked 300v and 20A) with slots for a test-meter probe you flip up the orange lever to insert the wire - 24AWG to 12AWG, then press back down to clamp it firmly. If you need more than four circuits they can be daisy-chained. There are cheaper push-fit versions but they are no good for stranded conductors. Available from various sources, RS Components may be slightly dearer than some but at the time of writing they have no minimum order and free P&P for standard postage.