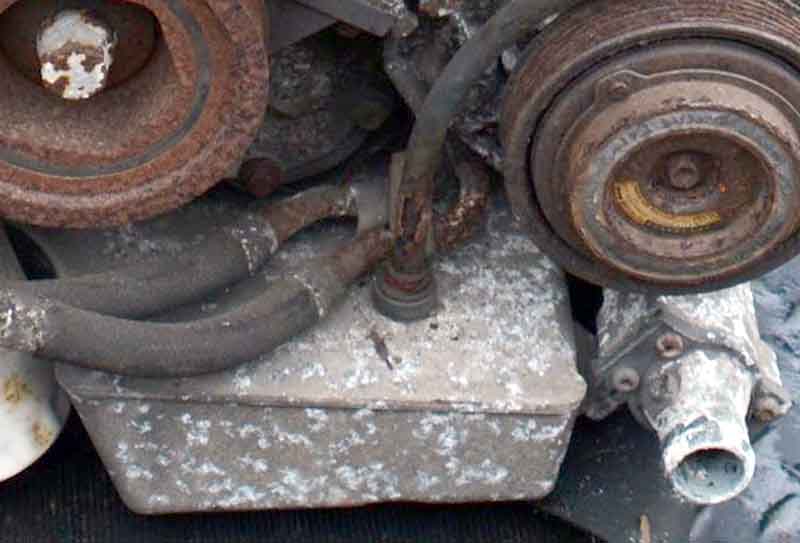
The quick-release version, which everyone else seems to have!
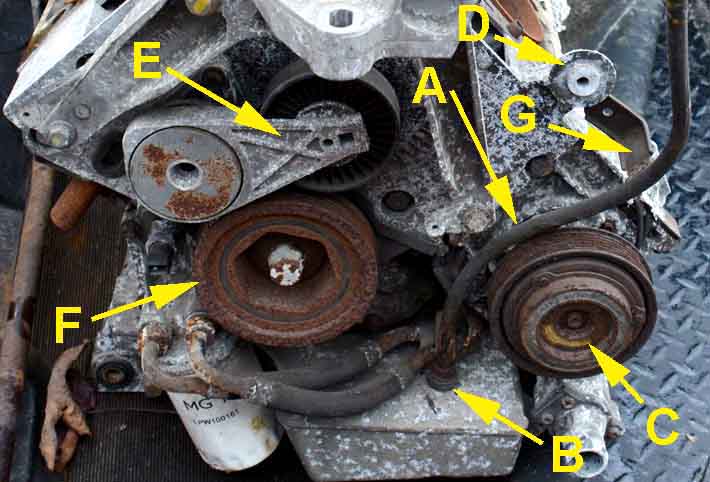
To help in orientation: A - dipstick tube; B - quick-release (in this case) connector; C - air-con pump; D - idler-pulley location; E - auxiliary belt tensioner; F - crank pulley; G - dipstick-tube bracket. RubberFusion Engineering
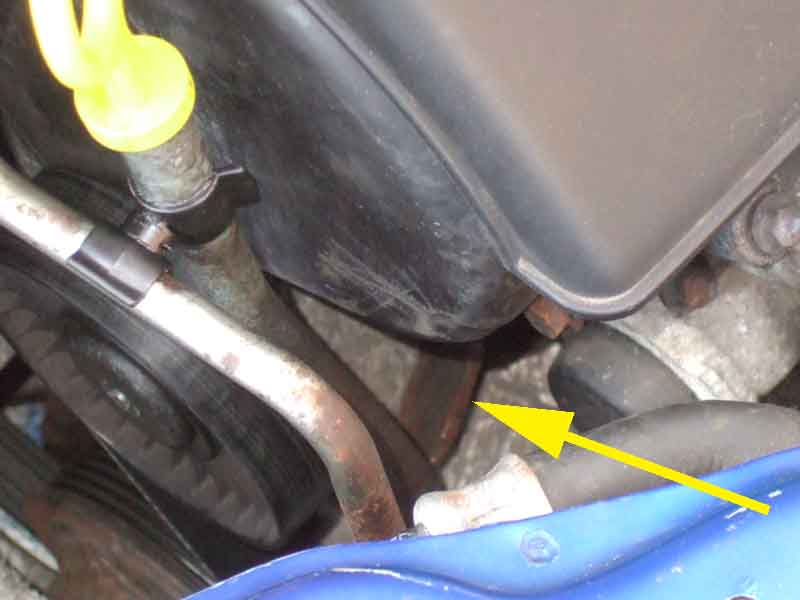
Things are a lot more difficult to see in-situ. The first part of the bracket (G) as it comes off the dipstick tube (A)
The second part of the bracket that butts against the front head, with the screw head just visible, behind the idler pulley
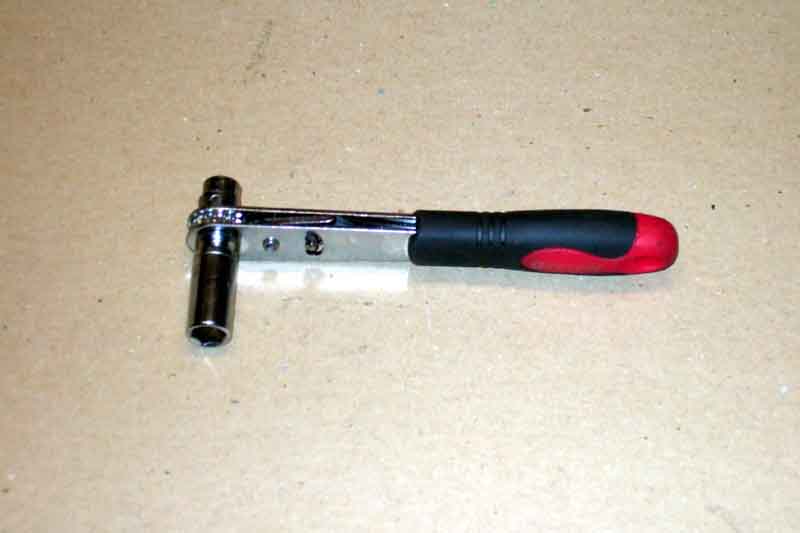
Miniature ratchet which with an 8mm socket can just get on the screw. Only initially slacken with this otherwise there isn't enough room to get the socket off the head again! After that a socket-driver handle can be used, angled upwards from under the idle pulley.
Auxiliary belt tensioner (E) viewed through the engine mount components ...
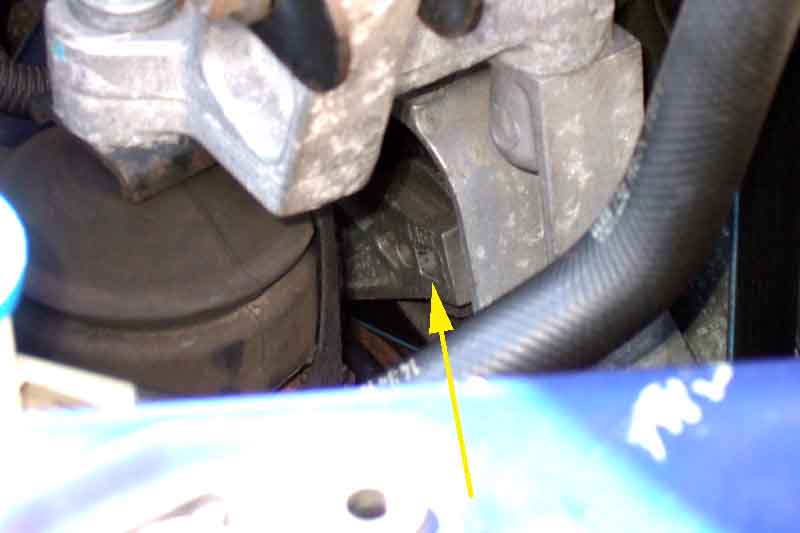
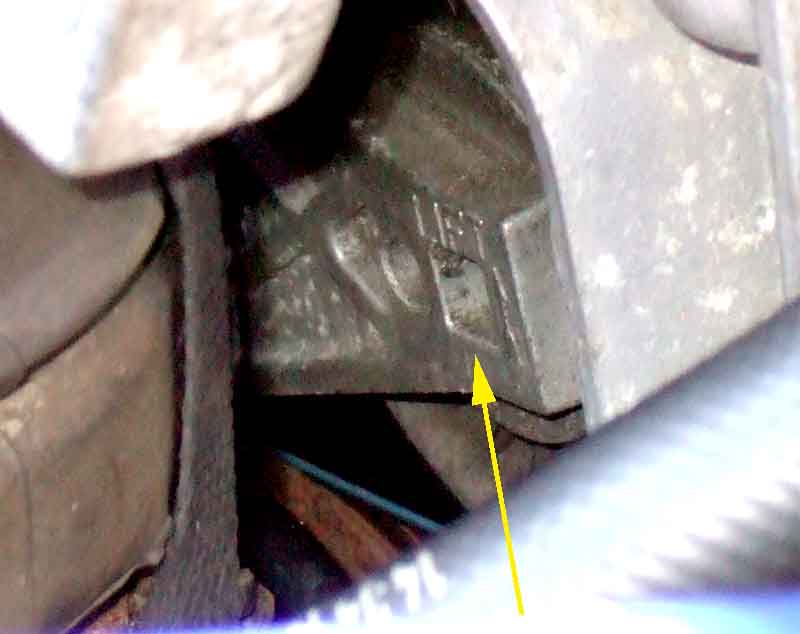
... with a square hole to insert a suitable tool, with 'LIFT' and an arrow showing how to release the tension.
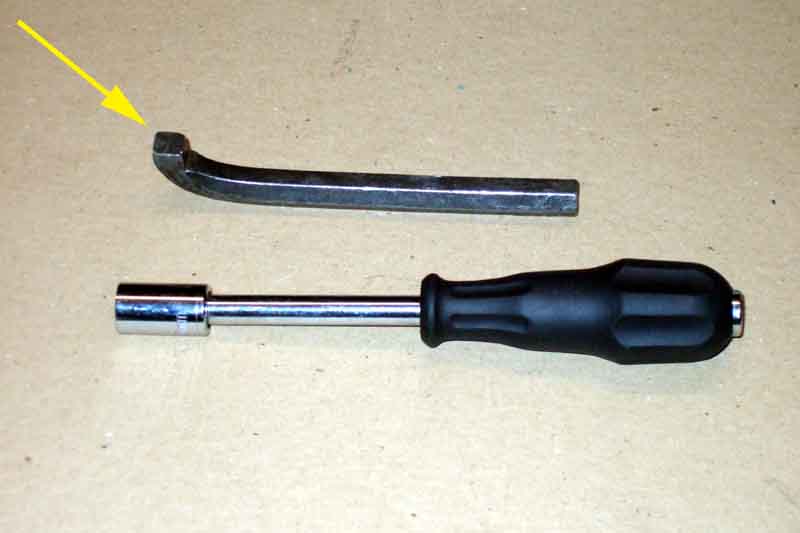
10mm Allen key modified to fit the square hole in the tensioner, and the socket-driver handle to give enough leverage.
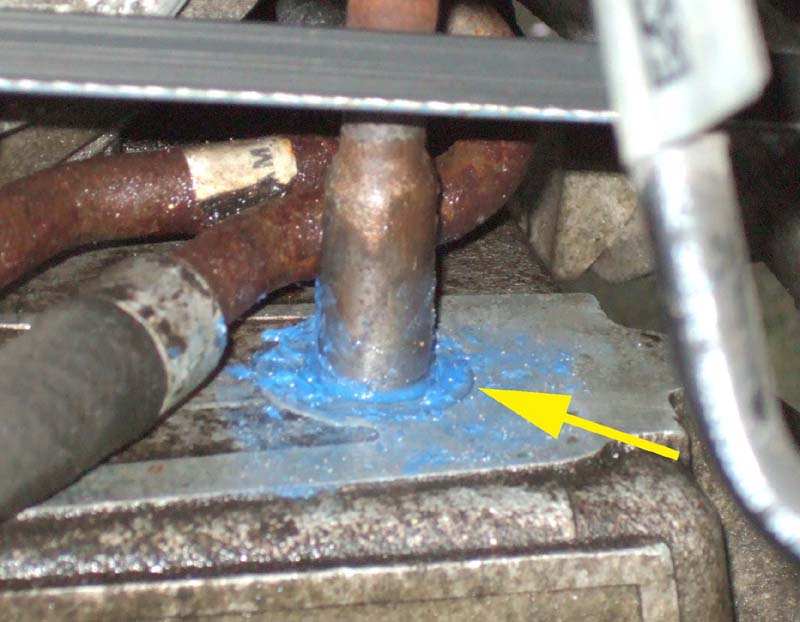
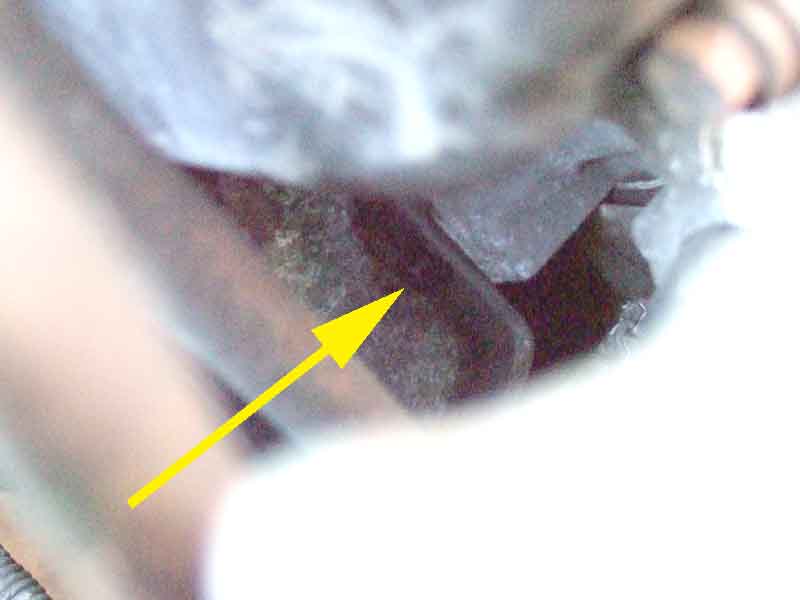
Following the 'professional' replacement, the oil leak! After cleaning and smearing the sides of the hole and the tube with sealant, and refitting, more sealant applied to the outside. The edge of the alloy ring that is pressed into the sump, under which there is a cavity with what appears to be the O-ring seal proper, can just be seen (arrowed). This worked for a while but started leaking again. So I cleaned it all off again, then this time rolled up some blue hand wipe paper, flattened it, smeared sealant on one side, and wrapped that round the joint, and cable-tied it. So far so good.