Early (up to August 1970) left-hand footwell vent shown in the open position. This picture and the next courtesy of Rick Lindsay.
Early right-hand vent shown in the closed position.
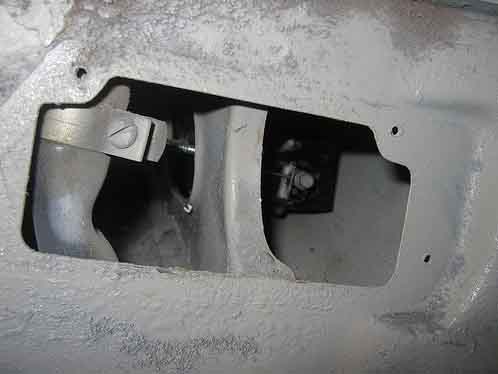
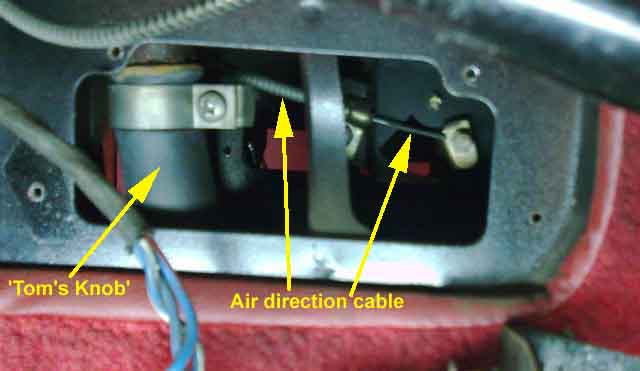
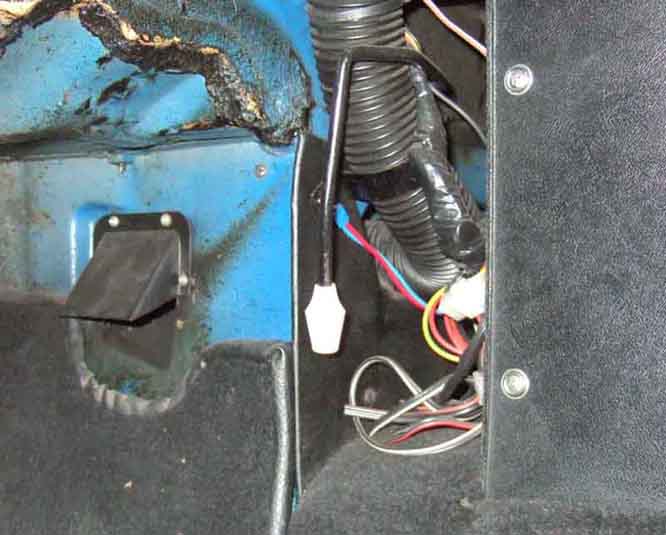
The right-had vent when removed gives better access to the air-direction cable (slightly) and Tom's Knob hose clamp than does the later fixed hood and bung. (DK McNeill)
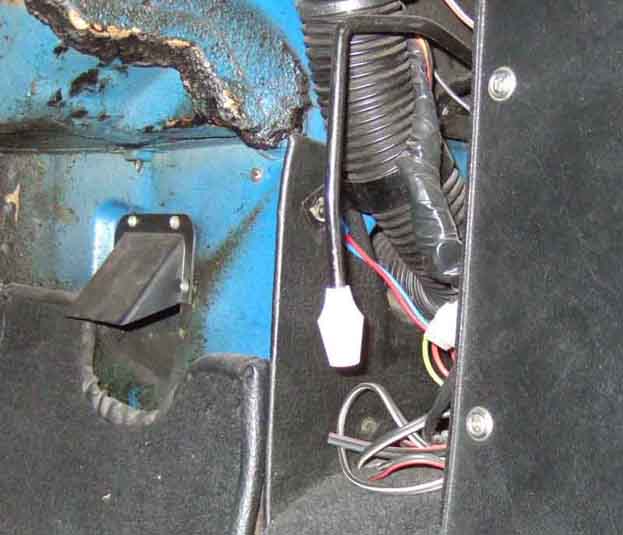
Another view from Dave O'Neil:
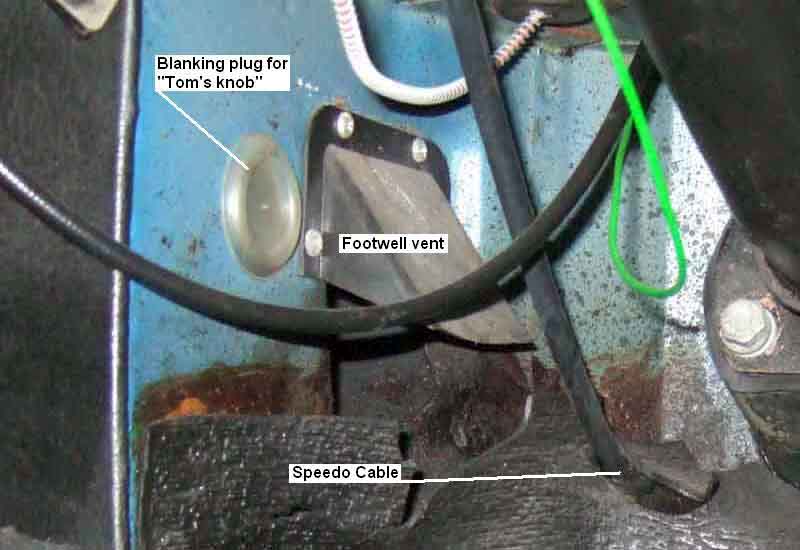
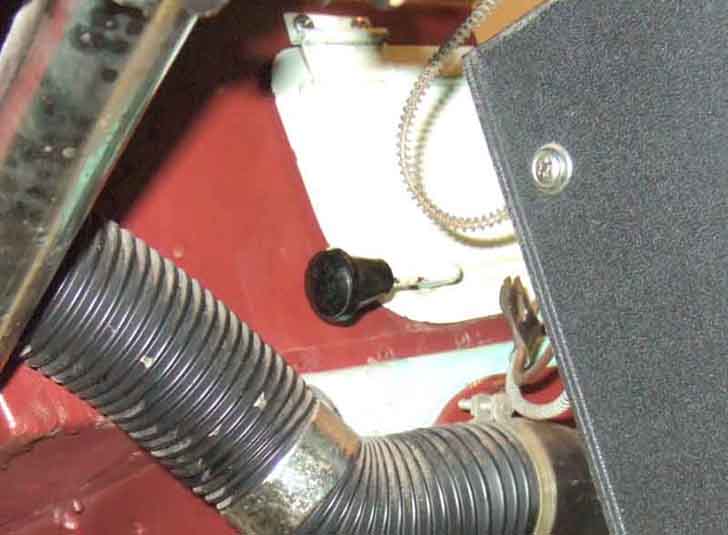
Later (August 1970 on) fixed vent hood in the right-hand footwell of my 75 V8 (this also nicely shows the access plug for the heater drain tube clamp).
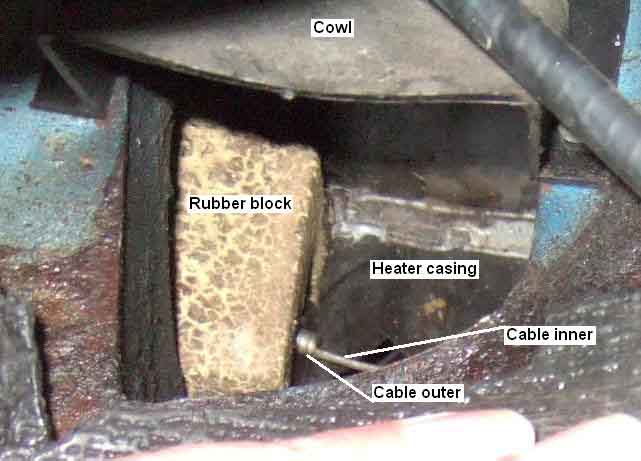
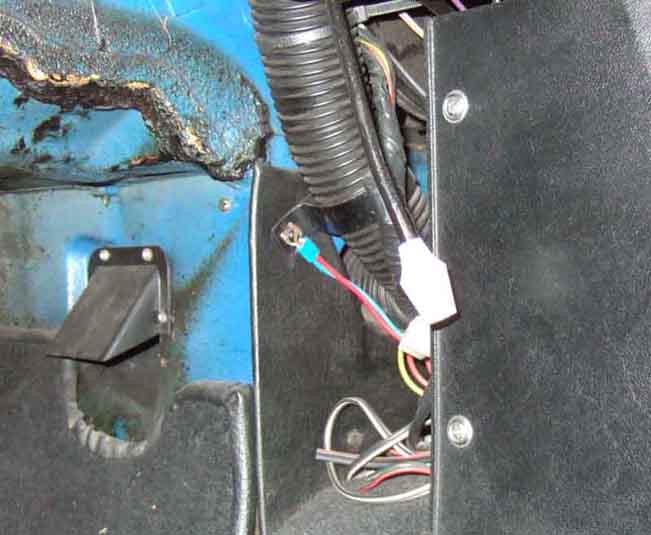
The air-flap cable attachments can only be shown in two separate pictures on an RHD as the pedals get in the way. Note the rubber block, the clamp for outer is covered by it, making undoing or fastening without cutting into the block impossible.
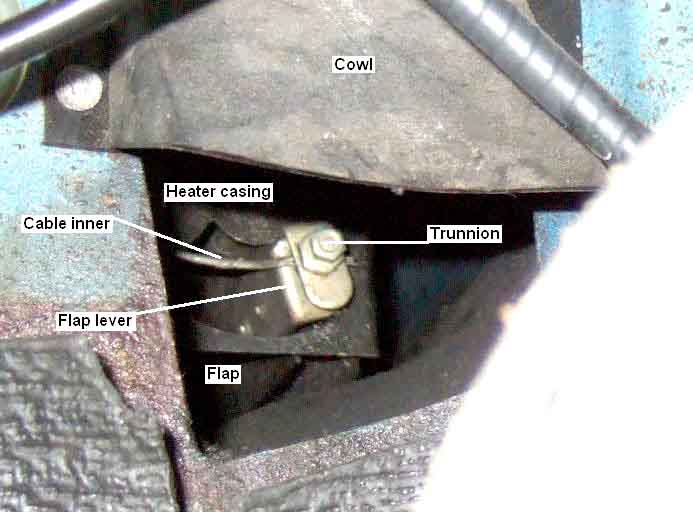
The inner fastening to the flap lever, shown in the Off position. This looks to be more accessible but I can only just get a finger-tip to it, although access would be better with the cowl removed. You would still need to manipulate the end of the cable with a pair of very long nosed pliers, and the trunnion with a nut driver on an extension, you wouldn't be able to see the hole in the trunnion, and the pedals on an RHD prevent you looking straight into the space! All in all a difficult proposition even if you were only replacing the inner. This seems to be a stranded inner, but logic dictates that it should be solid as it has to push the flap closed as well as pull it open, and there is no spring to aid closing. I must be fortunate in that this flap is very easy to move. Interestingly my mate Terry with a 73/74 reports that his also seems to be stranded as is my 73 roadster, whereas his replacement from the MGOC (original chopped off both ends when the heater was removed by a PO) is solid. I've come to the conclusion that a stranded cable is fitted as these are much more flexible, as the cable has to cross from one side to the other behind the dash to get from the heater unit to the dash control.
Control for the cold-air flap in the left-hand footwell, in the closed position. This is the later lever, longer and angled downwards giving more leverage.
The early lever just pointed sideways making it much harder to move as well as being more hidden under the dash. They also had black knobs (this is the Gaydon cut-away hence the flap itself being white instead of the usual black).
... and to the 2nd, you can see the flap open directly above the handle, between the rear edge of the centre console and the demister ducting.
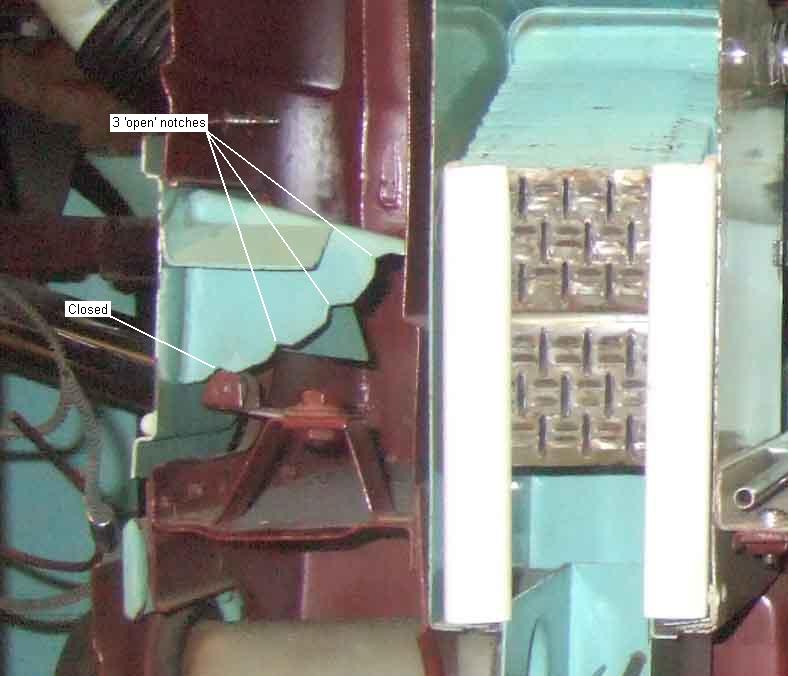
The British Motor Museum Gaydon 'cut-away' MGB clearly showing the four notches in the control quadrant, giving one closed and three open positions. The third notch seems to be deeper than the others, which will mean it takes more of a pull to get it from that to the fourth, which is maybe why many (well, everyone else as far as I have found) thinks there are only three notches and hence only two open positions.
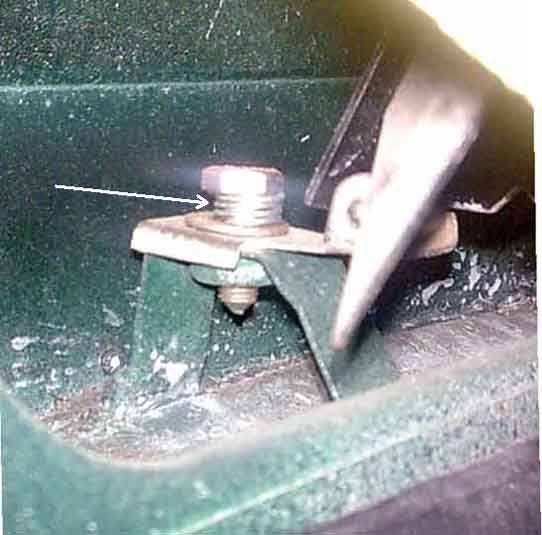
Herb Adler's mod with a coil spring (arrowed) between the head of the bolt and the detent. This allows the arm with the roller to move downwards slightly when moving the cold air flap, rather than having to spring the arm itself, making the flap easier to open and close. A longer bolt may be required, secured with threadlock or possibly a lock-nut. This also shows one of the vanes that are attached to the back of the flap (nearest the camera, concealing the roller) which direct air sideways into the footwells when the flap is open.
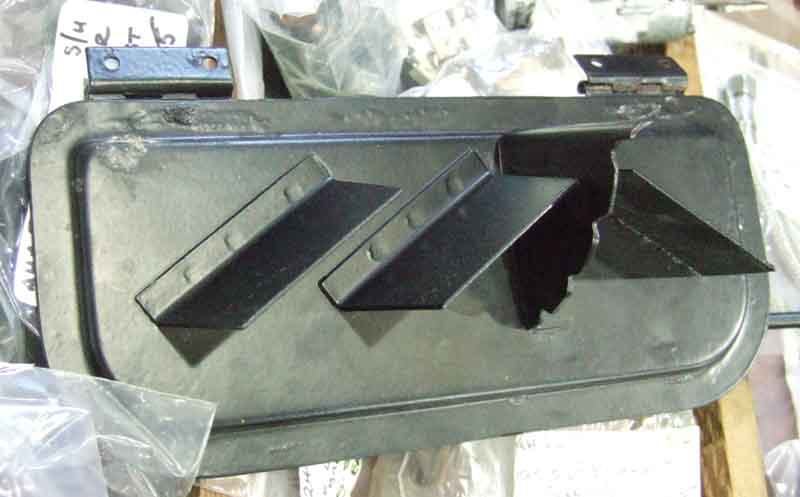
The back of the cold air flap showing the vanes that direct air into the footwells.