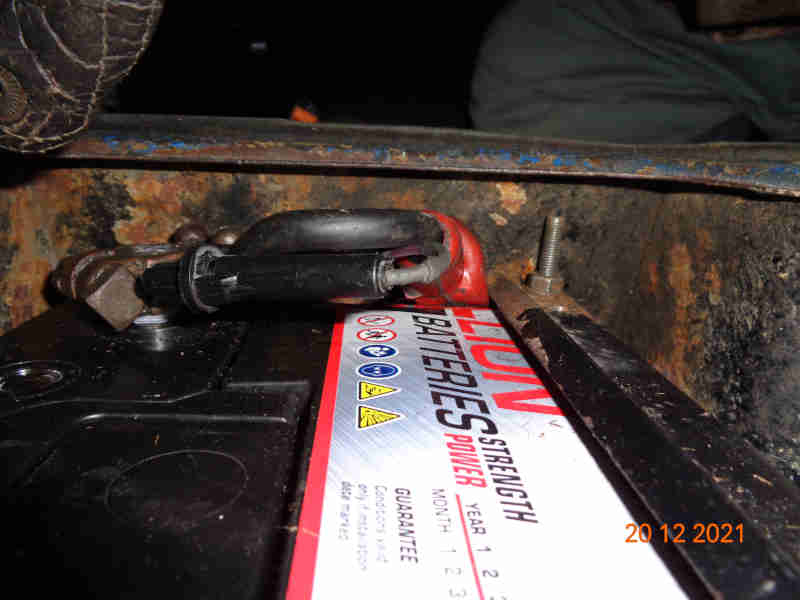
New battery is 25mm longer than the old one, which makes it quite a tight fit. The +ve clamp has the cables secured by screws which means it can't be turned over to put the clamp nut in a more convenient position, and the clamp is shaped to hold the square-headed bolt still while you tighten the nut. You definitely could not get a metal spanner on that safely with the earth cable still connected. I have the clamp bars going straight down and not diagonal as they are not long enough with this battery, and because of that have packed a bit of wood between the clamp plate and the side of the cradle to ensure it doesn't slip off:
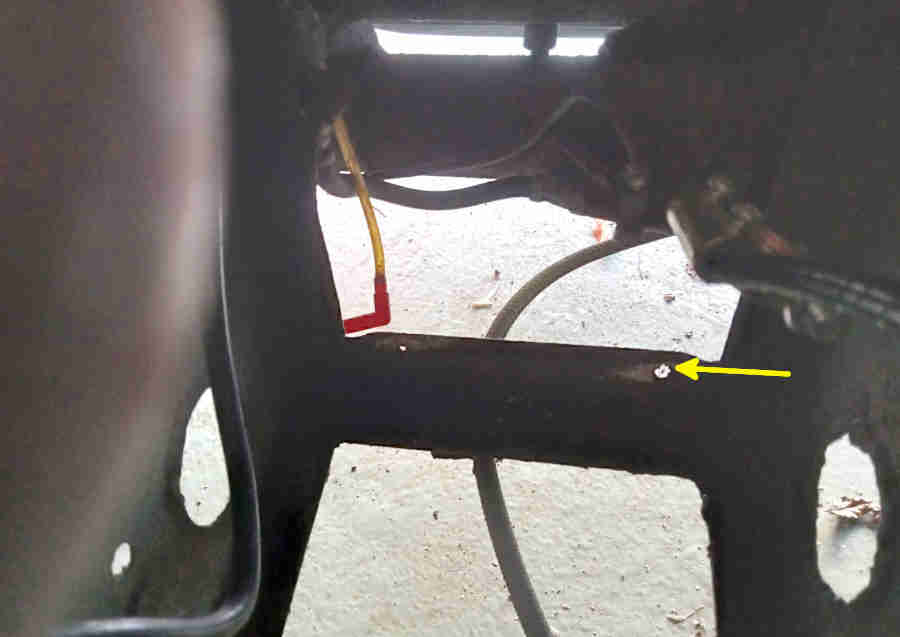
Clamp rod hole (arrowed) towards the tunnel side (axle at the top in this picture), in a vertical flange that is stepped back from the end of the battery to make space for the rod. Even though the convention is to have the clamp plate on the outboard side at the top of the battery with the angled rods pulling it towards the tunnel side, there are a matching pair of holes on the other side of the cradle:
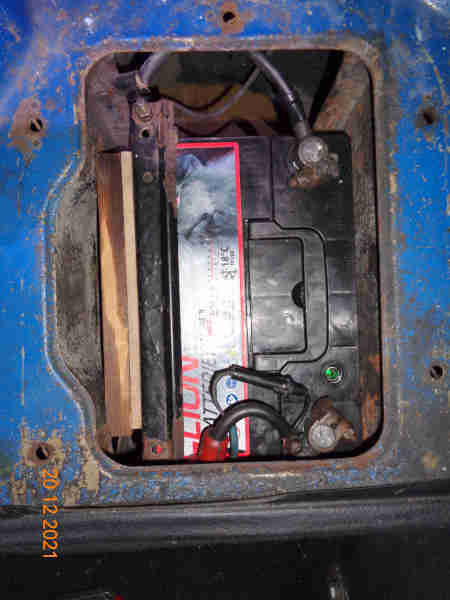
I had to use the outboard holes as the rods aren't long enough for this battery, which puts the front one tucked right under the shelf. I could only get the 2nd nut on with the others loose to allow some movement in the plate. An old red rubber cup-type clamp cover - which has been on there for decades to indicate to others that it is the +ve cable - acts as an additional layer of insulation between the cable and the edge of the clamp plate. The in-line fuse keeps the clock going when the cut-off switch is off:
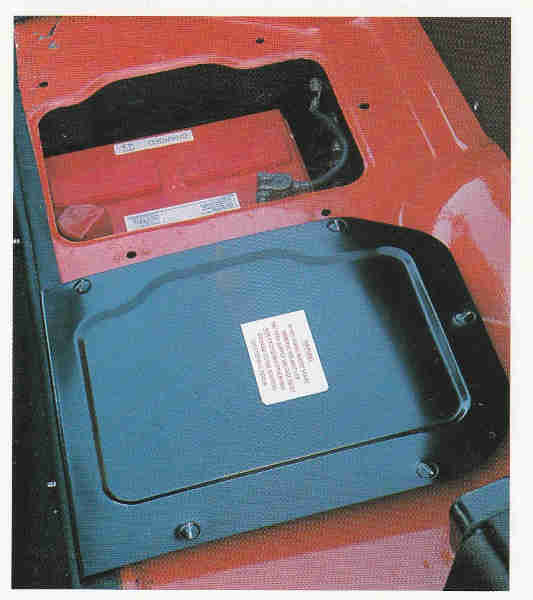
I can't see a clamp in this picture from Clausager, there should be one down a long side. I would be very unhappy about having mine on the post side of the battery, it's bad enough with the 6v as they have posts in opposite corners so one post at least will always will always be at either 6v or 12v and close to the clamp: