Seat Frames:
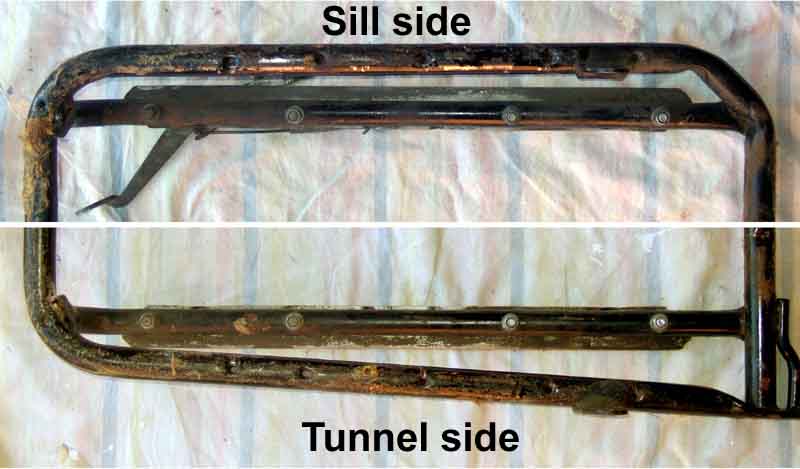
MGB and MGC frames side-by-side. The 'legs' on the MGB frame are taller, and the lower tubes of the MGC frame project further forwards: (Neil Clark)
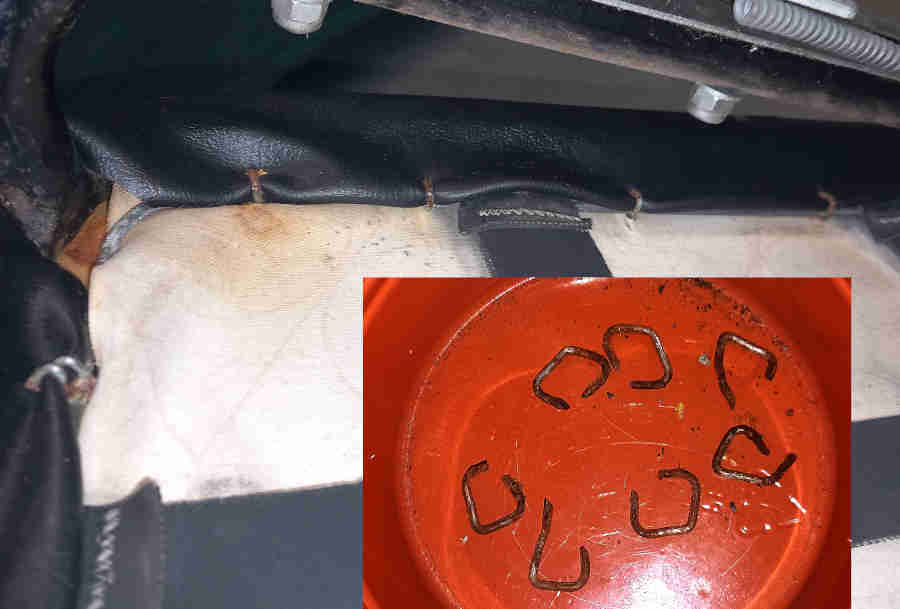
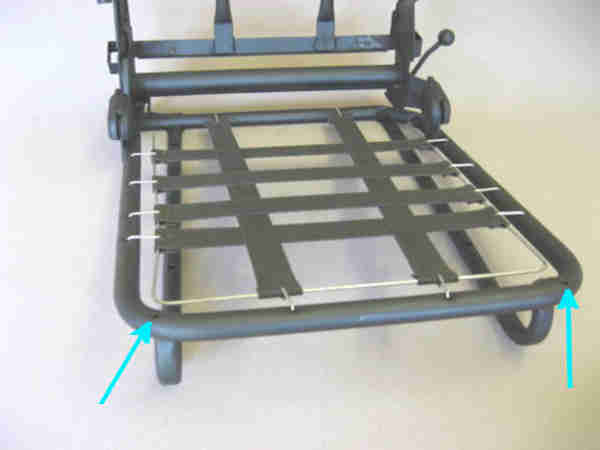
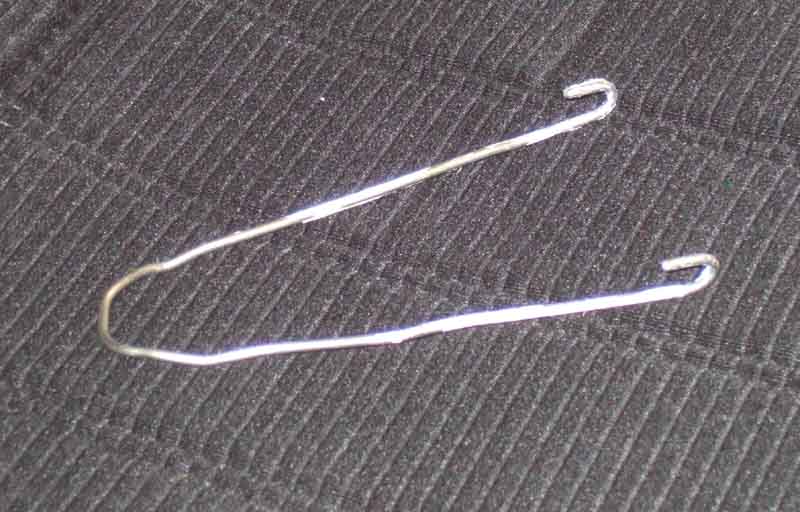
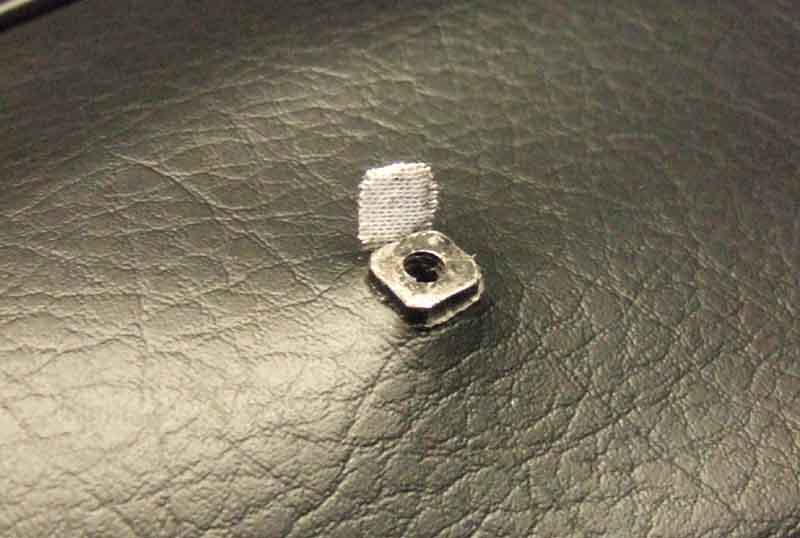
The above also shows the original spring-clips BHA4339 securing the edges of the base cover to the frame and clearly visible on fabric other than black (but in truth could be slid further round the tube to reduce visibility). Pal's 78 has 'hog rings' which pierce the cover and go round the wires of the diaphragm. A 'pig' to fit but completely invisible once done:
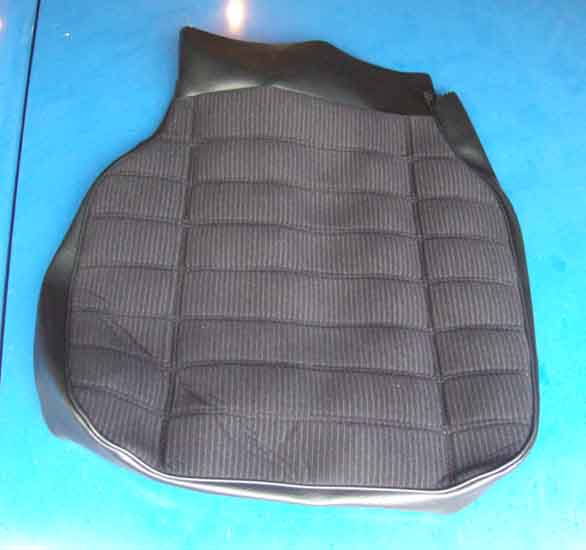
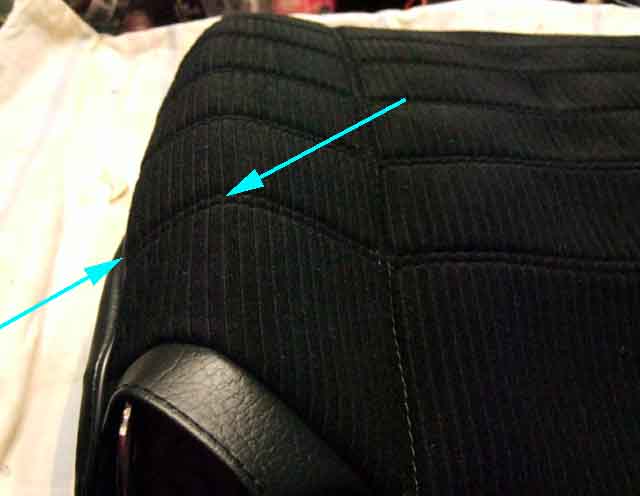
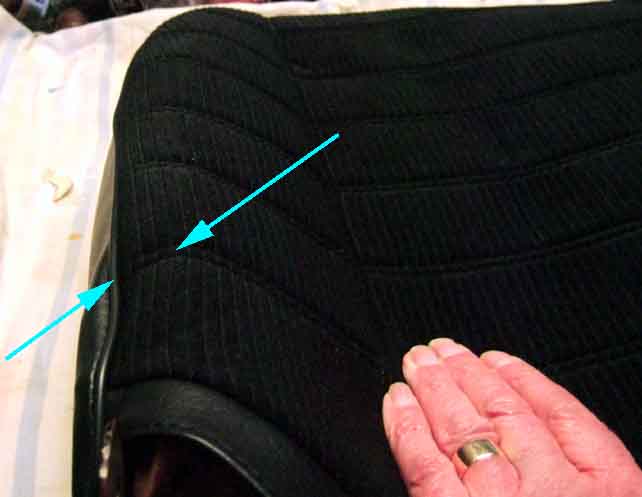
Drivers side seat cover. This also tapers in slightly from back to front on the tunnel side, but in fact there is a bigger difference at the rear of the cover. In this case the sill side angles in further and sharper than the tunnel side:
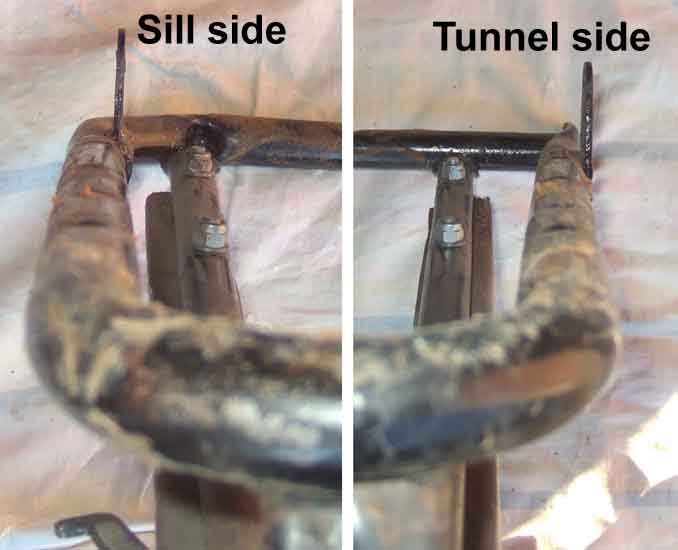
The brackets for attaching the seat back are in the inside of the frame on the sill side, and the outside of the frame on the tunnel side:
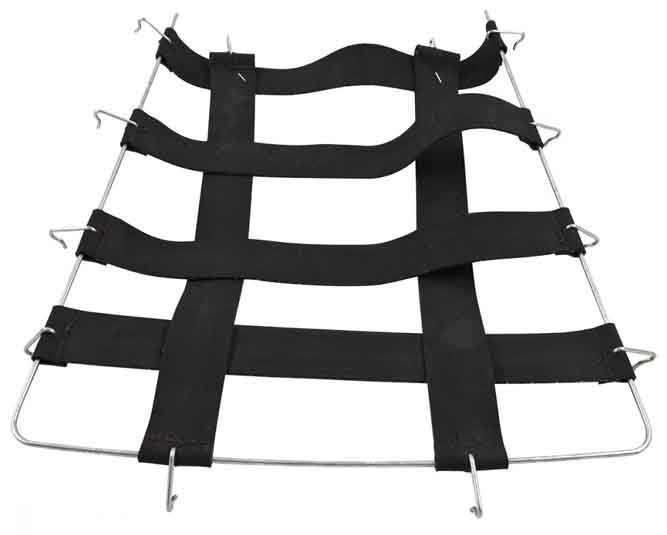
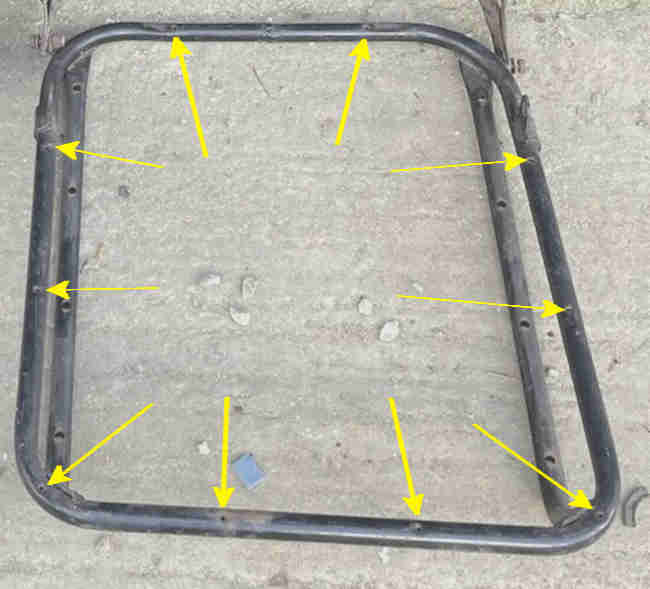
As at the top of this page later frames have four holes in front of the seat back pivots and another two behind, plus two front and rear and two more at the front corners. Either because the original webbing rear strap used the holes behind the pivots, or because the verticals and horizontals are attached to each other where they cross (some don't appear to be), or both, I did use the rear pair of holes, but it's questionable just how much support they give that close to the seat back:
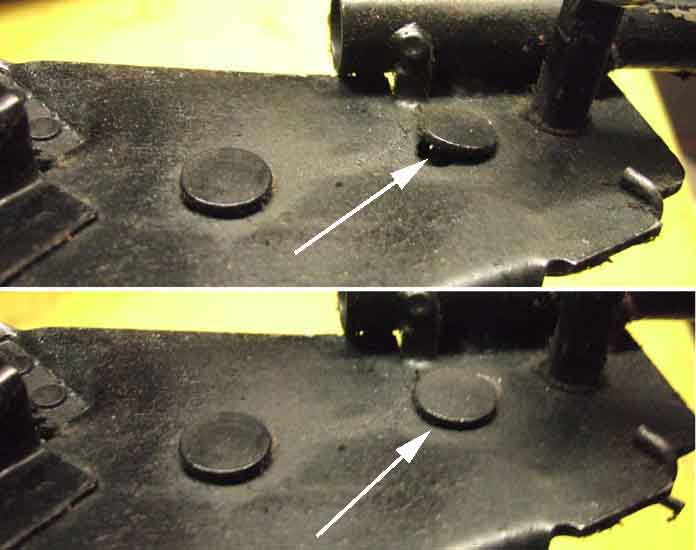
Some pictures show all four straps in front of the pivots (diaphragm front corner holes arrowed):
Diaphragm uses the same front and rear holes, but only two on each side plus two more on the front corners (this is a later frame which almost certainly should have webbing): (V8 Register)
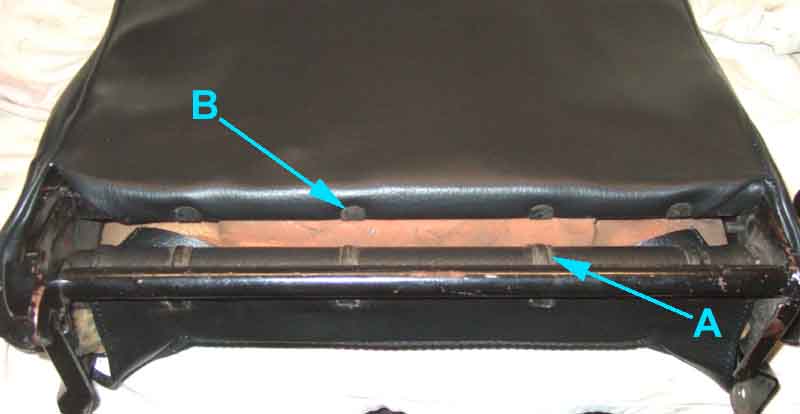
Early seat frames only have two holes each side, plus two front and back and two front corners:
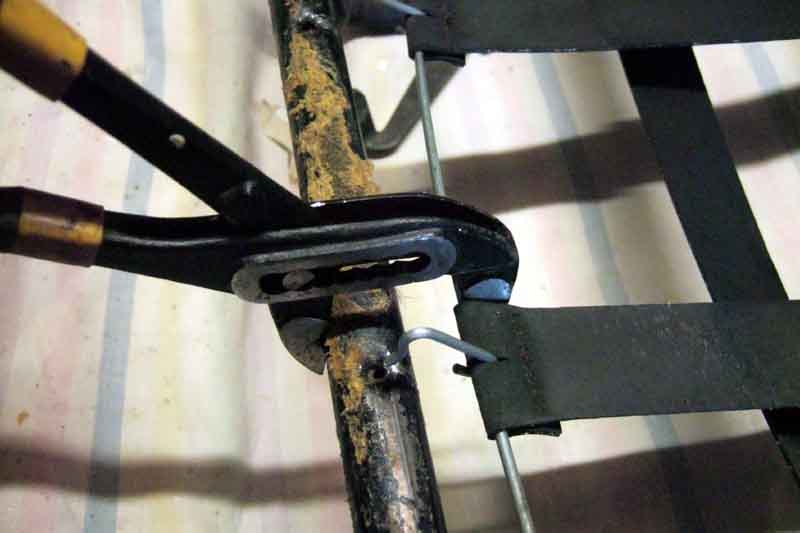
Using channel lock pliers to position the hook to simplify removal and replacement of webbing hooks (not possible with diaphragm):
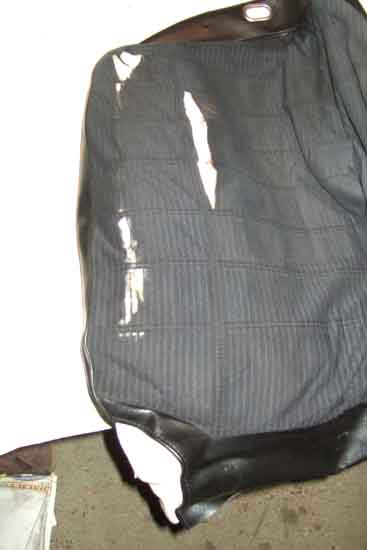
Bee's old covers gone into holes and ripped, although some of the white area half-way down on the left is simply very thin fabric:
Old (left) and new covers, the backing foam is far thicker, against the wearing surfaces that on the old covers had powdered away to dust:
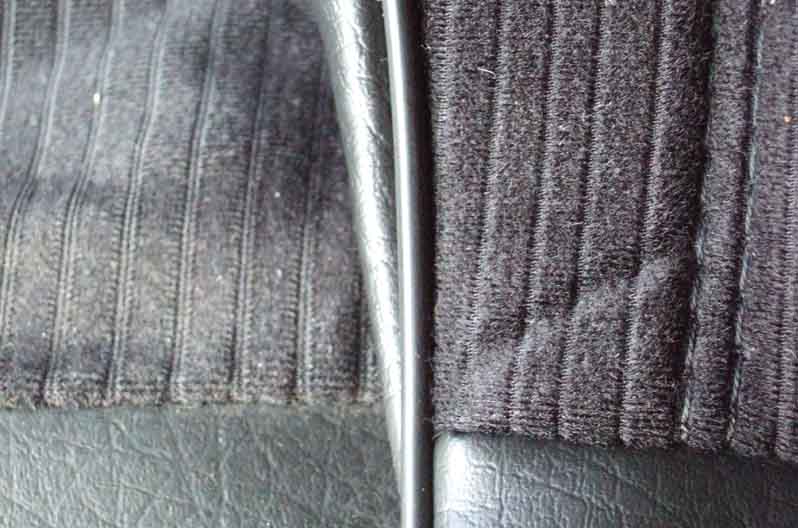
Fabric side, the old (left) has noticeably less thickness and 'brushed' texture, even though this is an area under the seat back that has had no wear:
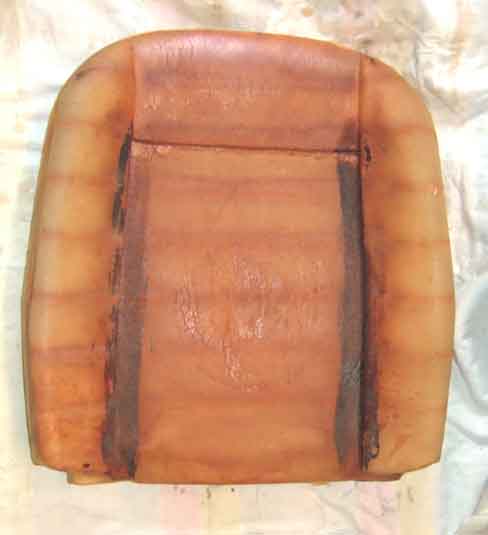
Vee's covers with the brushed-nylon completely worn away in places, to leave shiny fabric, just a couple of pin-holes. Much more robust than Bee's replaced covers:
Bee's seat back foam reusable, note the composite construction of an original, with structural as well as 'comfort' foam sections, compared to the one-piece moulding of replacements:
Vee's is one-piece, and in good condition. You can clearly see the two strips of glue where the side bolsters meet the flat central section, but the covers had pulled away from it. It seems very difficult to get them to stick long-term:
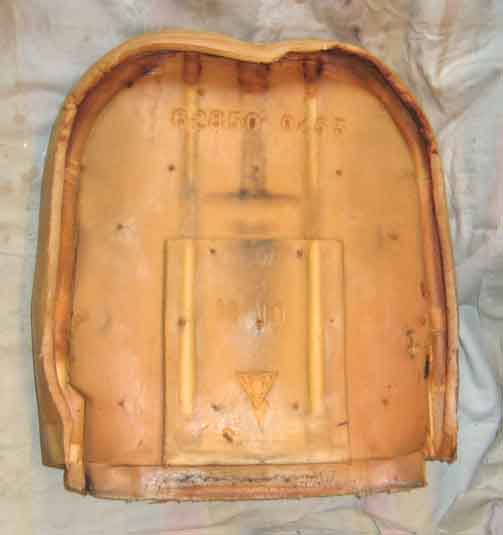
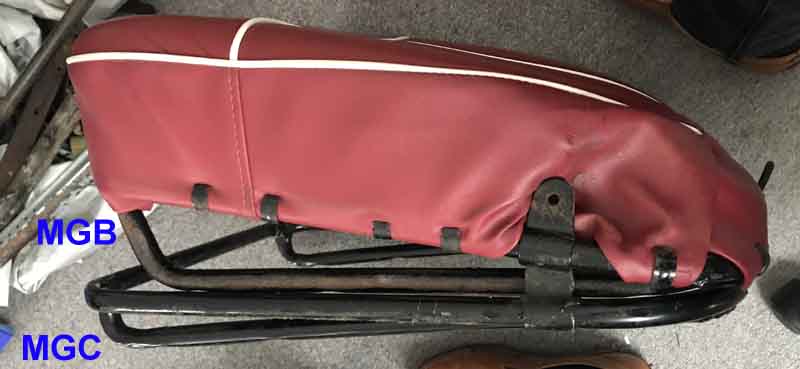
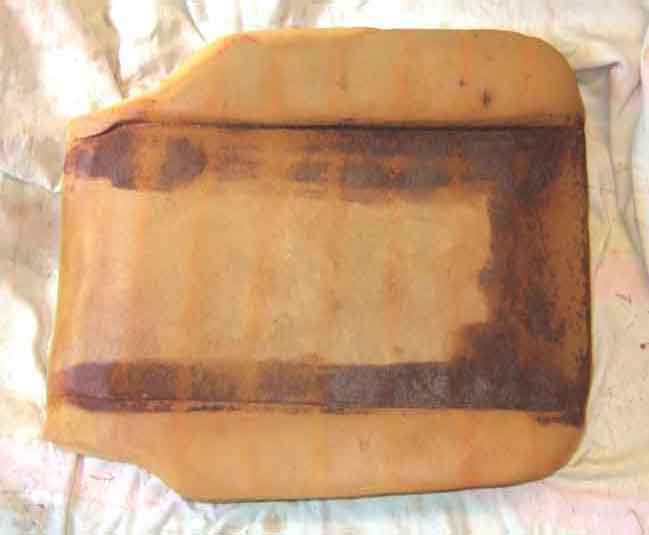
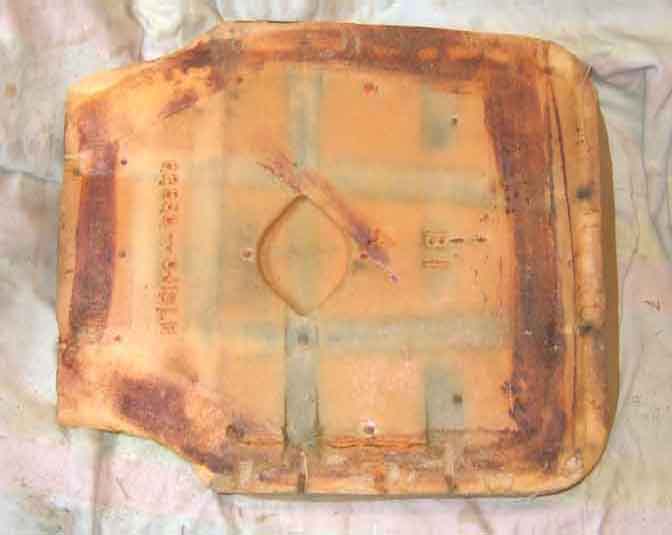
Bee's base also reusable, also original but a one-piece moulding in this case. Same taper on the tunnel (upper) side, and different shapes of the two rear corners as for the covers:

Note the cut-out in the centre for the North American 'bum detector', and the larger cutouts at the front under the thighs, which makes that edge softer and more resilient. I don't know whether replacement foams have these:
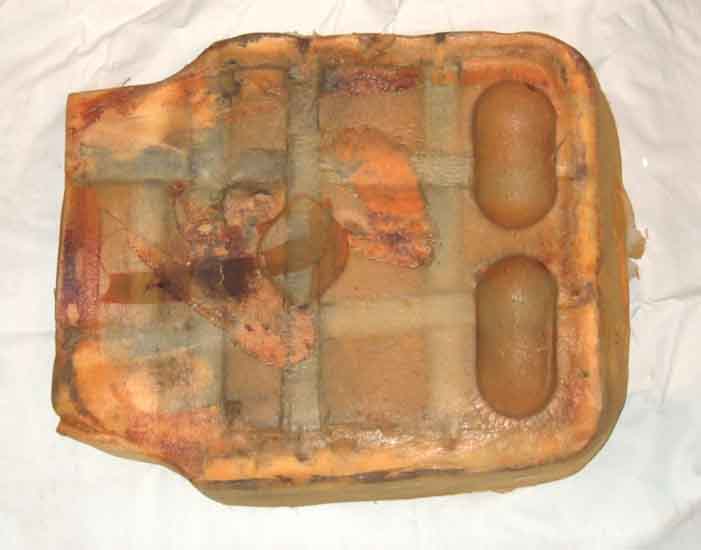
Vee's identical this side ...
... and with the cut-out for the 'bum-detector' this side, but without the indentations for the thighs at the front:
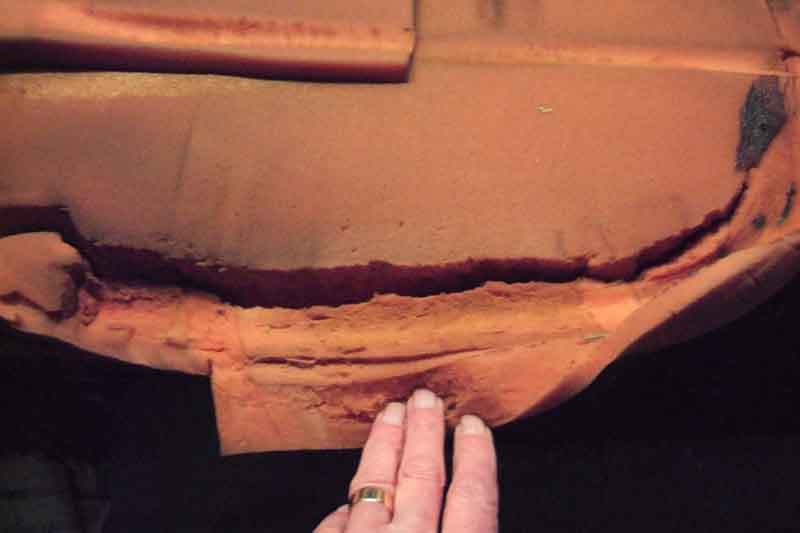
A small amount of splitting at the side nearest the door, gluing the hessian across should help with that:
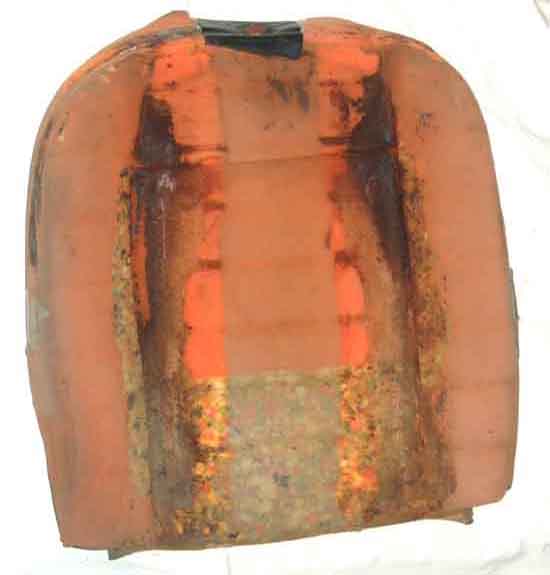
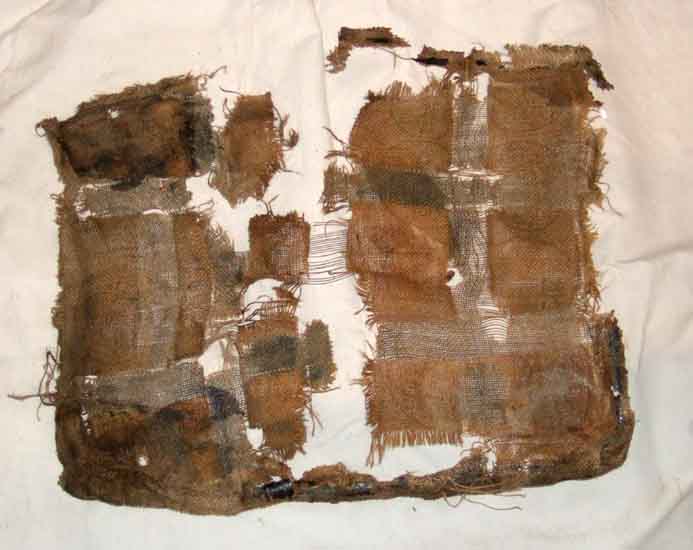
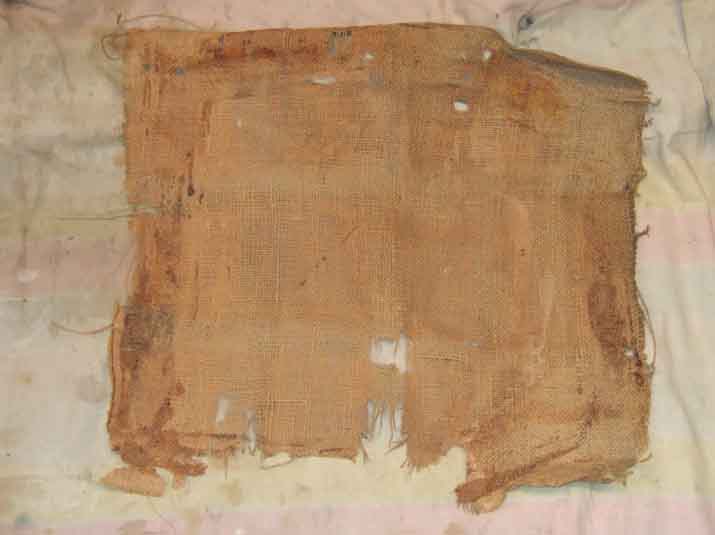
Bee's hessian definitely time-expired!
Vee's almost reusable if I was being really tight, but at �2.49 for a double layer for each seat and some left over it's not worth it:
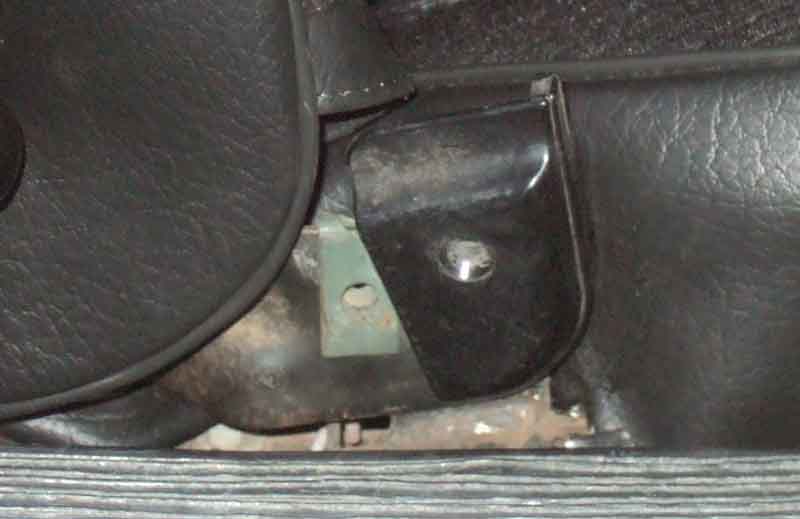
Pivot covers provided from September 73, on Vee but not on Bee. May 2020: Just come across a source of these, however they are 3D printed and have a rough textured finish compared to the originals, also expensive at $40 albeit including worldwide shipping:
Spire-clip fixing:
Slot over the bolt and nut, then push back and down, holding covers and foam out of the way as required. Make sure the clip is lined up with the hole in the bracket first:
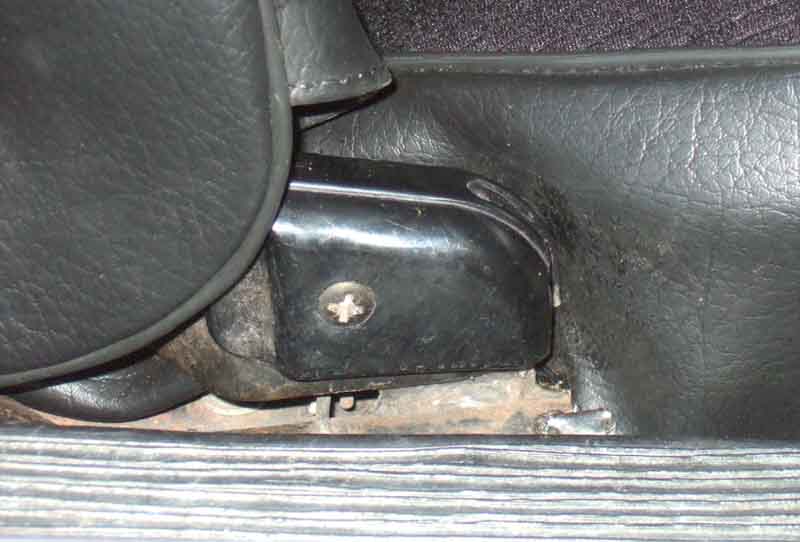
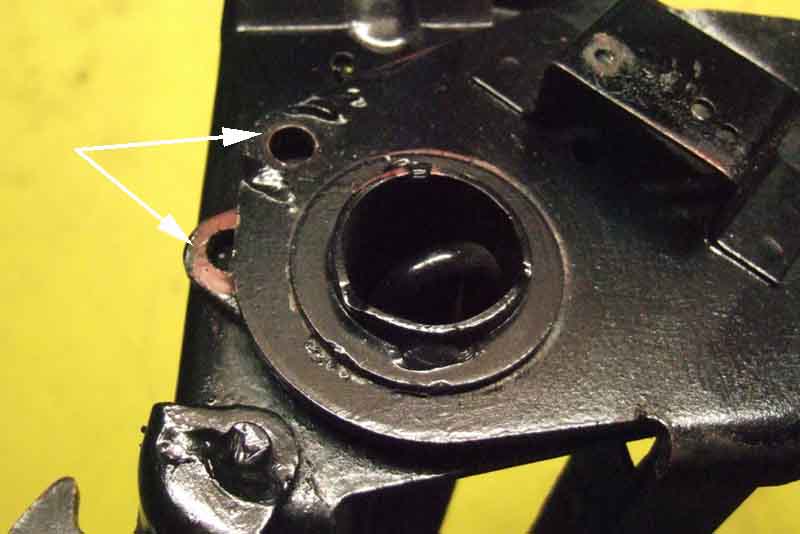
Bee's reclining mechanism with the loose guide pin ...
... and the missing pivot pin, it should keep the two arrowed holes together. Because the area is painted it obviously broke away before I repainted the frames, even though the pin only fell out during reinstallation to the car. The main seat back (upper section) has an oversize hole where it fits over the large tube, so can move in any lateral direction as well as rotating around the tube, whereas the lower plate is closer fitting and can only rotate. By pinning them together the seat back is locked in position until the reclining handle is operated to disengage the teeth of the reclining mechanism. Without that pin heavy pressure can lift the teeth out of engagement until the seat collapses backwards:
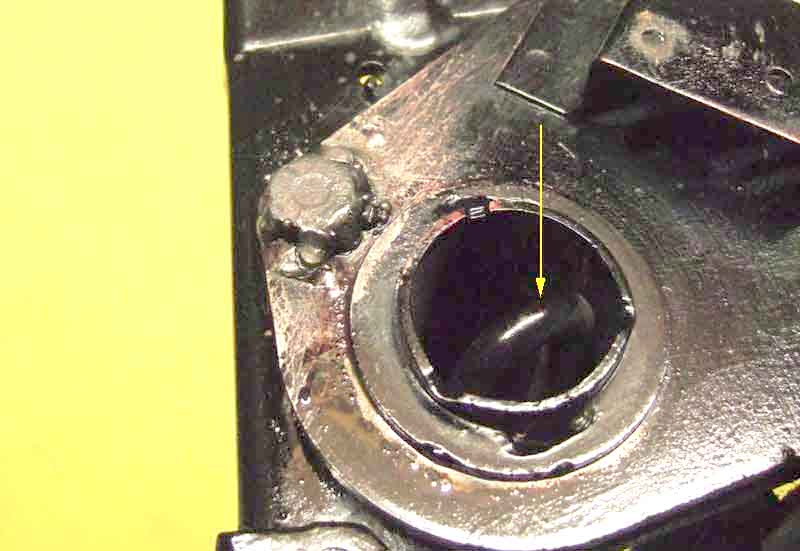
Bolt cut down and welded in place. The folded torsion-bar recliner spring is arrowed:
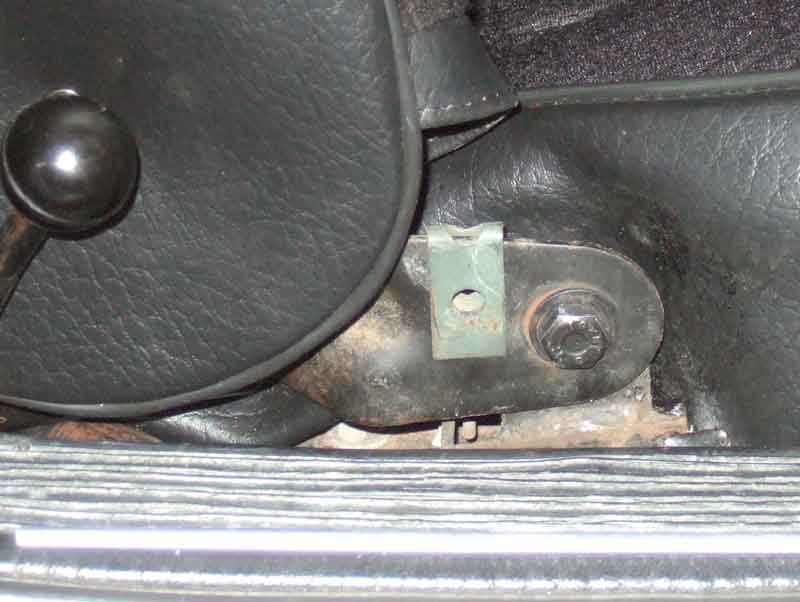
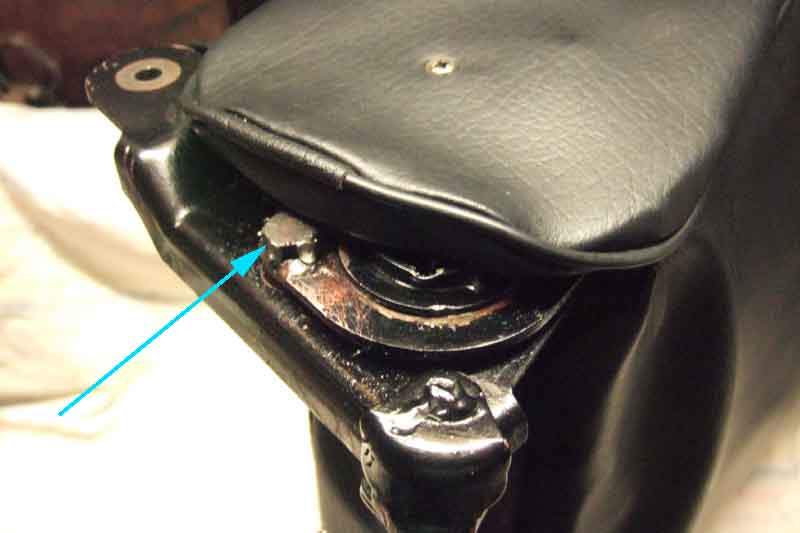
Pivot repair visible after the new covers were fitted, so I could have done it all those years ago had I known where that pin came from. This side is against the tunnel and invisible, so I shan't bother painting that bit:
Foam separated a bit on the door side, presumably from the greater pressure of me getting in and out ...
... so I lace three strips of gaffer tape round the frame sides and behind the central tubes to give it more support:

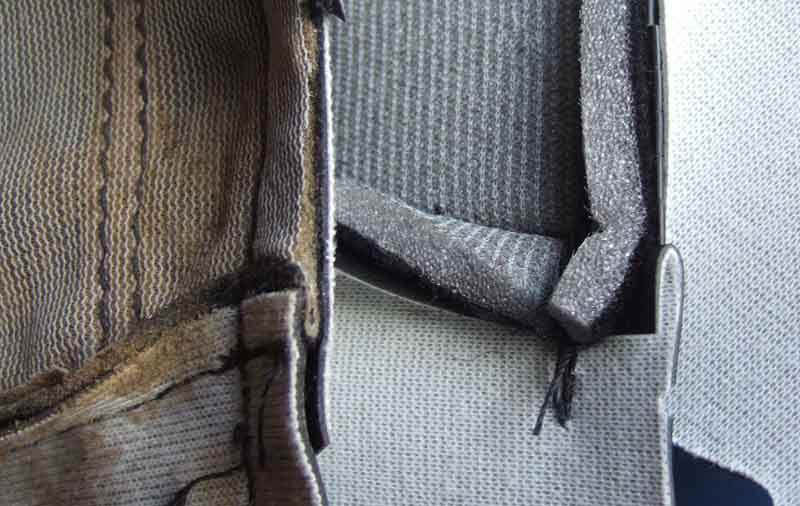
The crinkled stitched edges inside the pocket ...
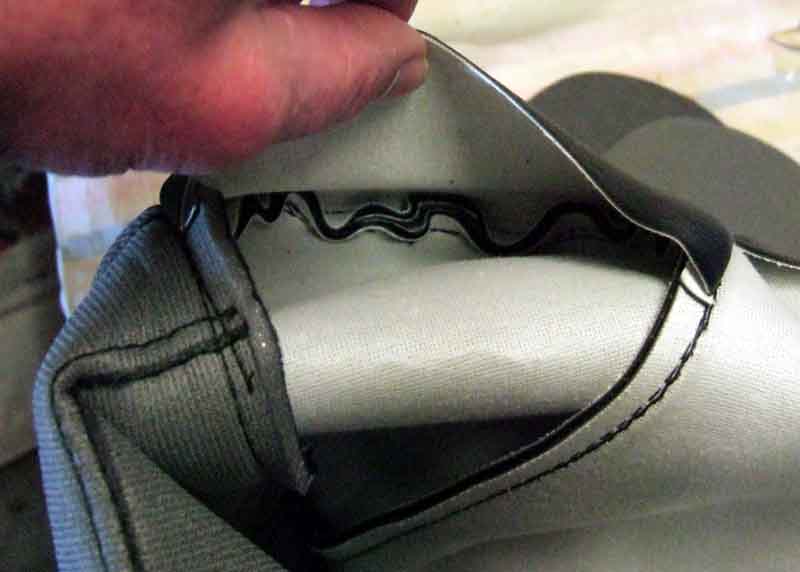
... card inserted with all the stitching positioned on the inside face ...
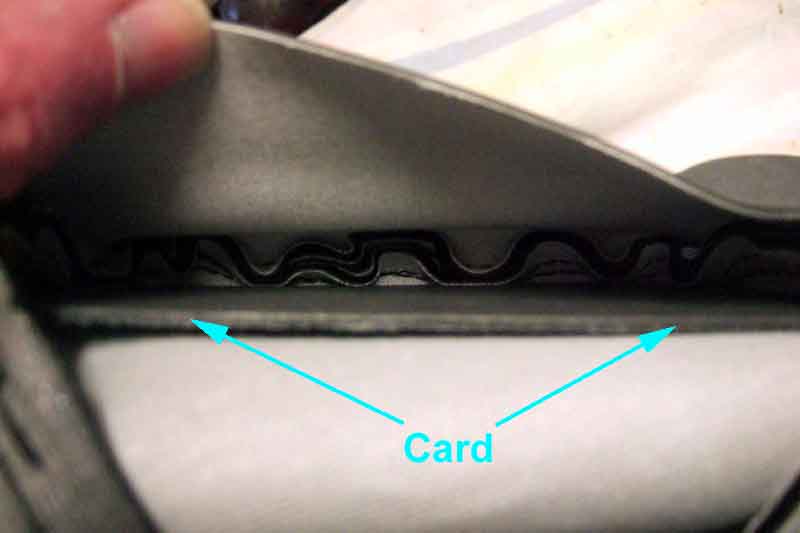
... to give a neat appearance of the outside face. Glue it in place so it doesn't work itself out of position when fitting the cover to the seat:
With the cover pulled over the foam the edge of the foam (top arrow) is a long way from the join between the cloth face and the vinyl side (lower arrow), and the vertical stitching is similarly a long way from the crease in the foam, where it is to be glued:
By pressing down on the face of the cover with one hand, then reaching in with the other to push the edge of the foam across towards the join between the cloth face and the vinyl side, the vertical stitching will sit neatly in the crease in the foam:
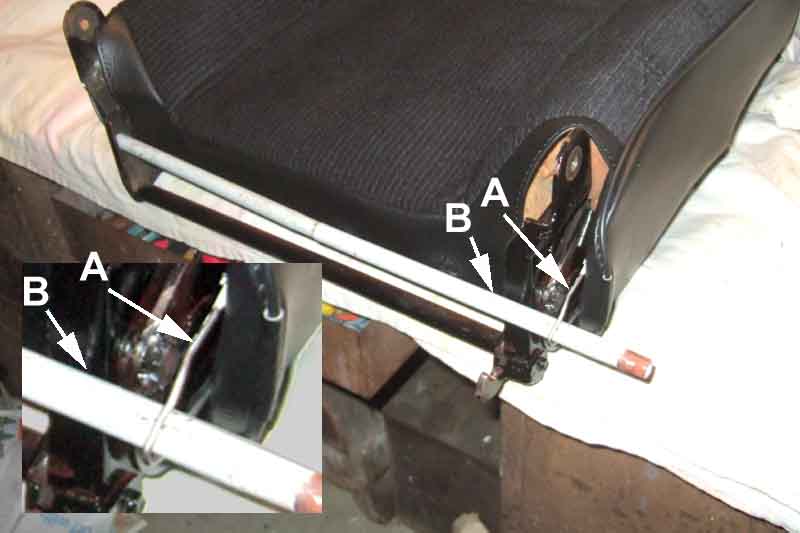
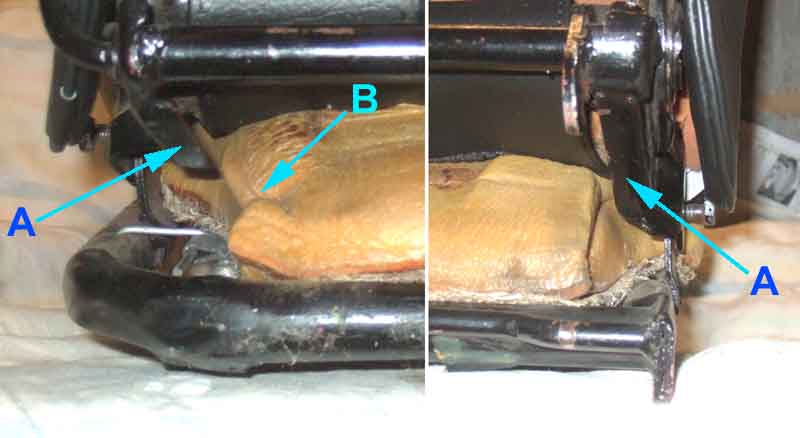
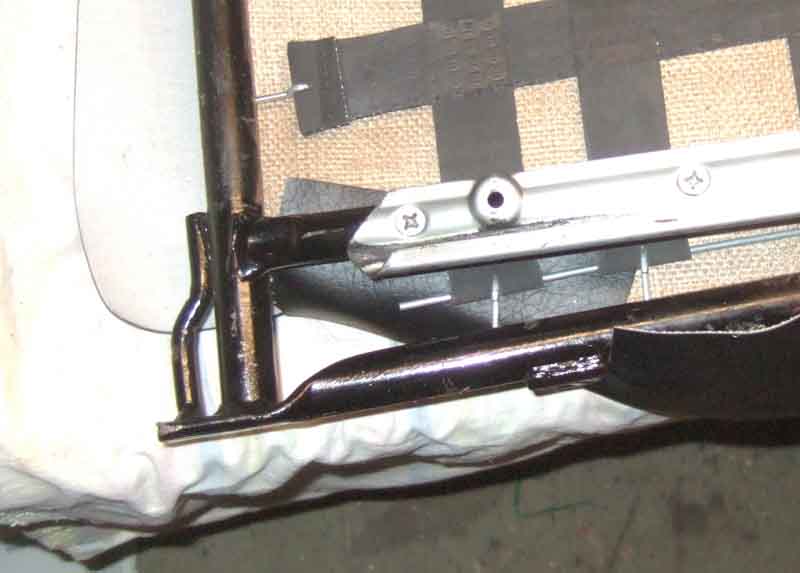
'Puller' to pull the card and ears down before screwing to the frame:
Puller (A) held in position with a bar (B) while a hole is drilled through the cover and card into the frame bracket and the screw and cup-washer fitted:
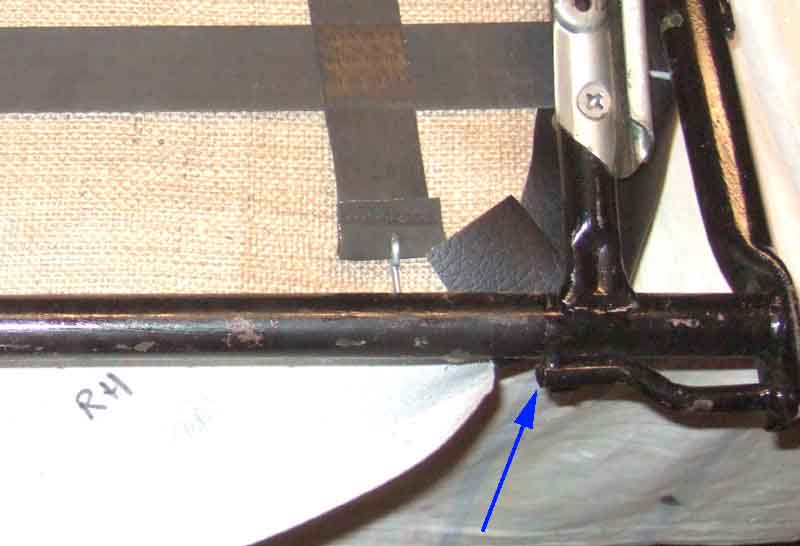
Rear glued and clipped to the tube (A) and the 'angle iron' (B):
Neat hole for the recliner handle shaft, cut by tapping with a hammer against the vinyl where it lies on the edges of the shaft:
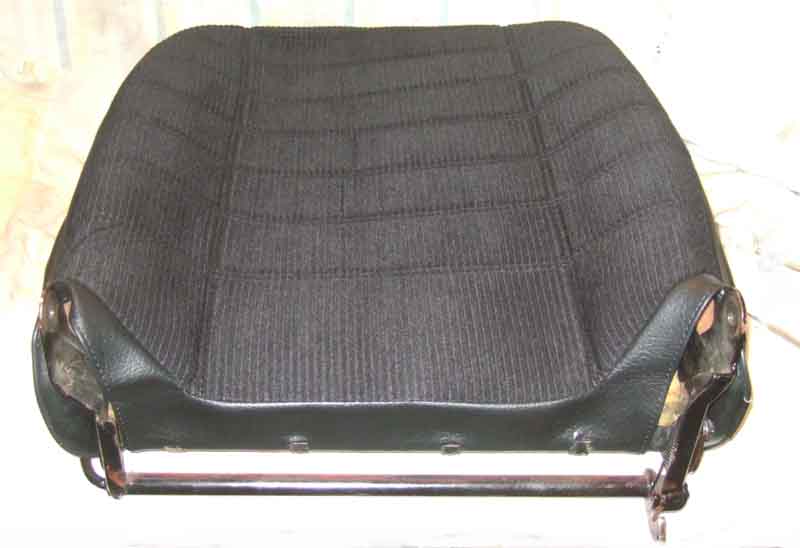
First seat back finished:
Position the base foam so that the parts of the back frame (A) come down either side of it. You can see where previously it was position too far to the left and has been crushed (B):
The foam also needs to be positioned such that the angles between the central flat parts and the side bolsters on both back and base foams line up, so that the stitching also lines up:
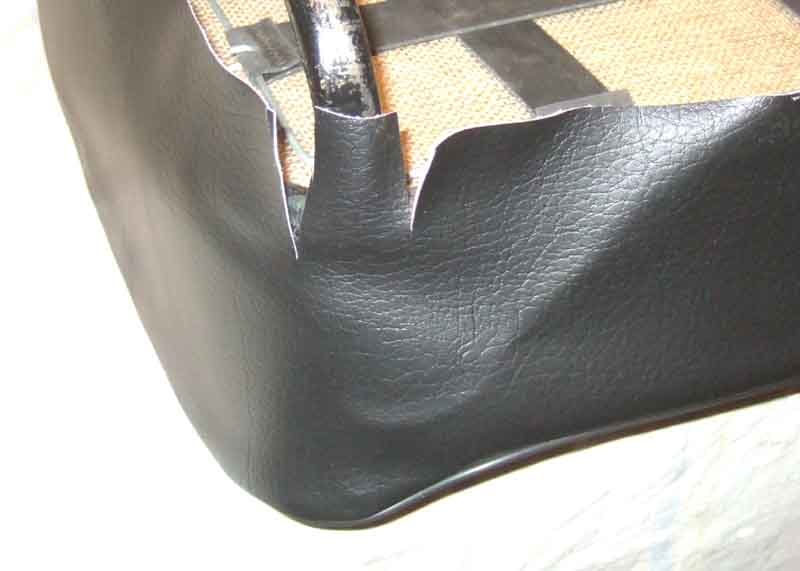
Cut the vinyl either side of the frame uprights at the front corners, and tuck the flap back on itself:
Cut at the leading edge of the bracket, tuck the rear part behind the bracket and frame ...
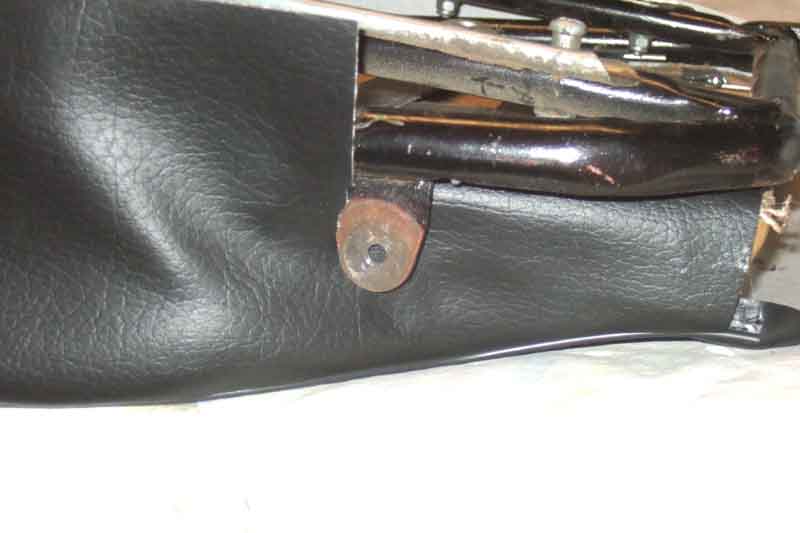
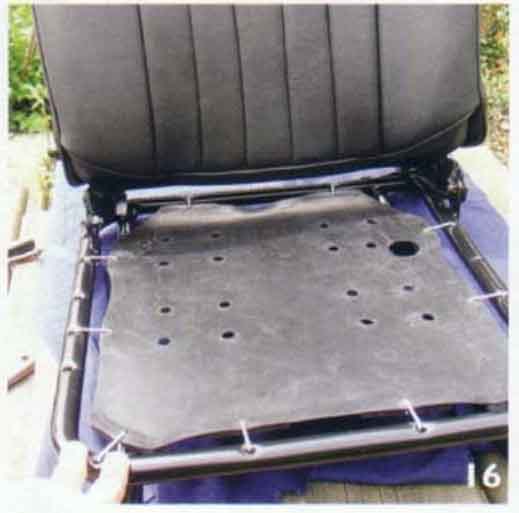
... and between the hessian and the webbing. This also shows the rear webbing strap behind the pivot as I found both mine, the rear holes (and another pair further forwards) are not present on earlier frames:
Make another cut to clear the end of the tip catch bar (arrowed) so the vinyl can be neatly glued and clipped to the remainder of the tube. You may also have to make another cut at the other side to clear the bend in the tube:
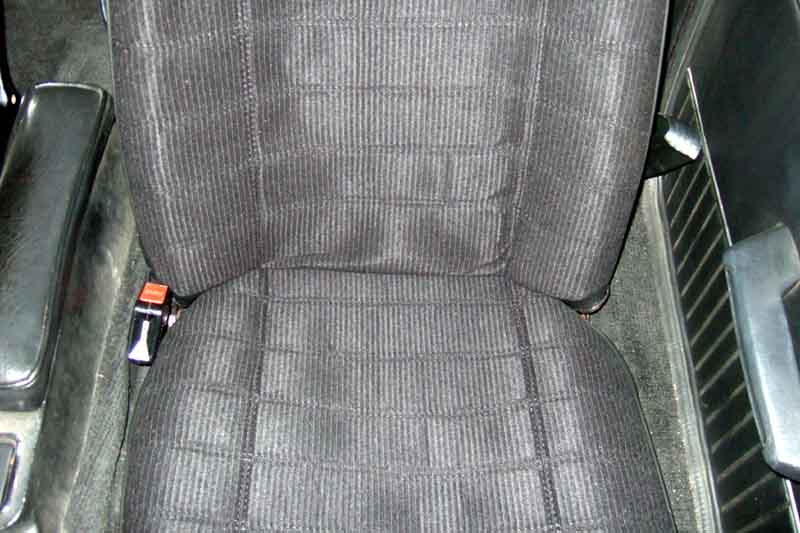
Bee's finished article, looking good ...
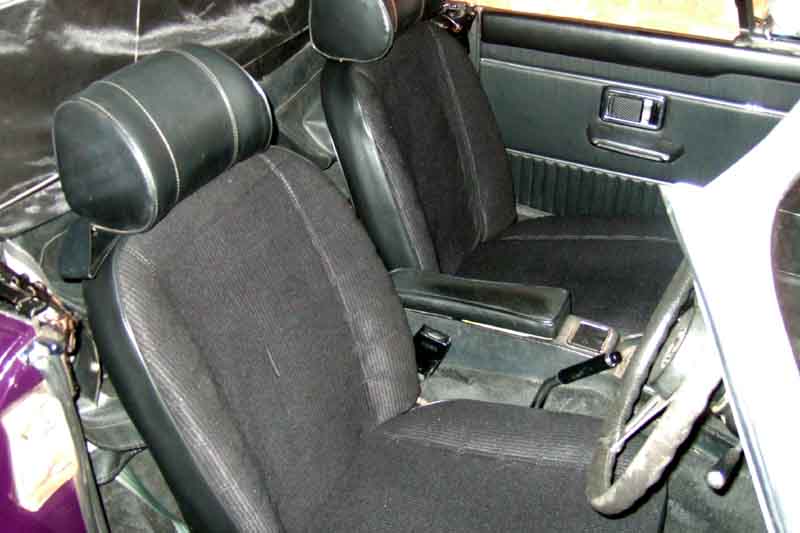
... as is Vee's: