
Pre-1972:
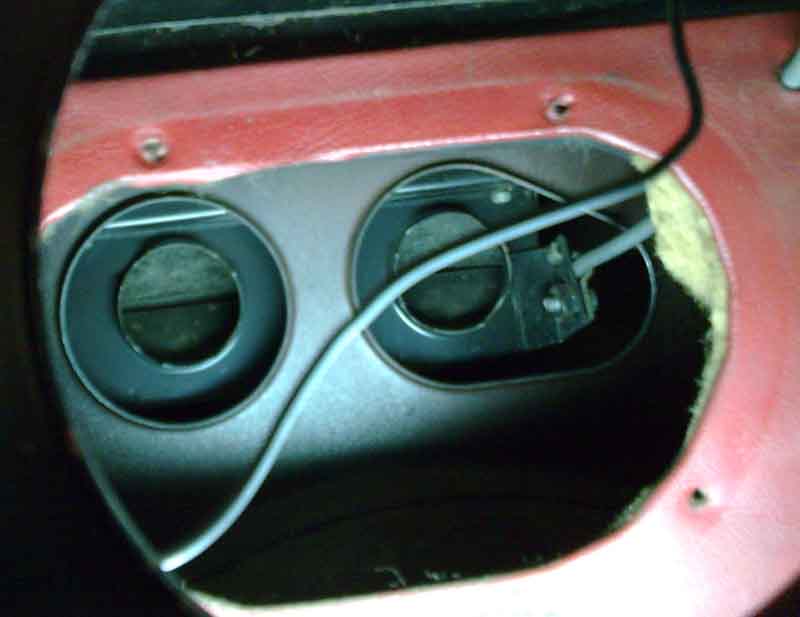
The demister outlets viewed through the cut-out in the cabin-side bulkhead. (Dave O'Neil)
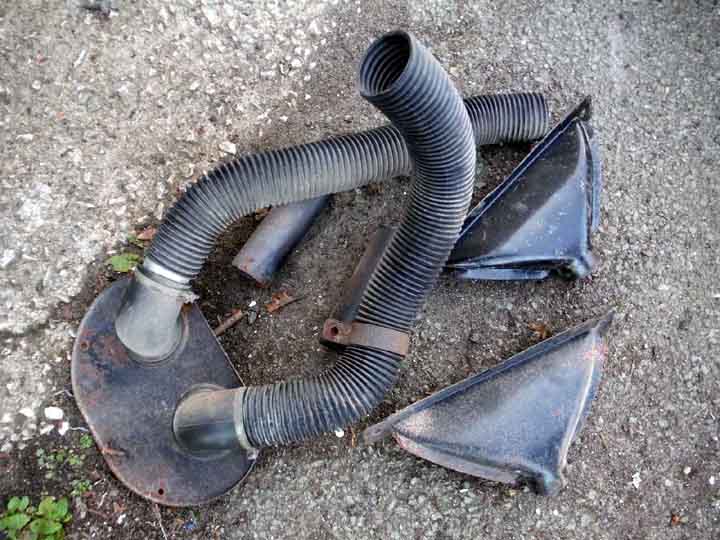
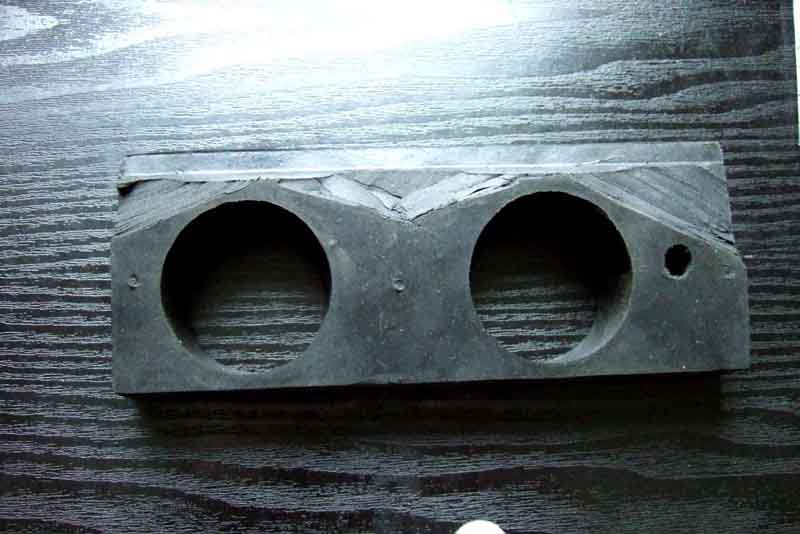
The elbows in the mounting plate that covers the above cut-out. (Chris Wilson)
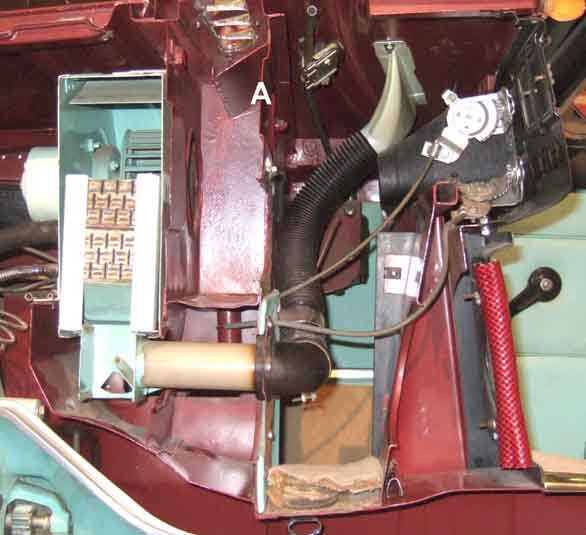
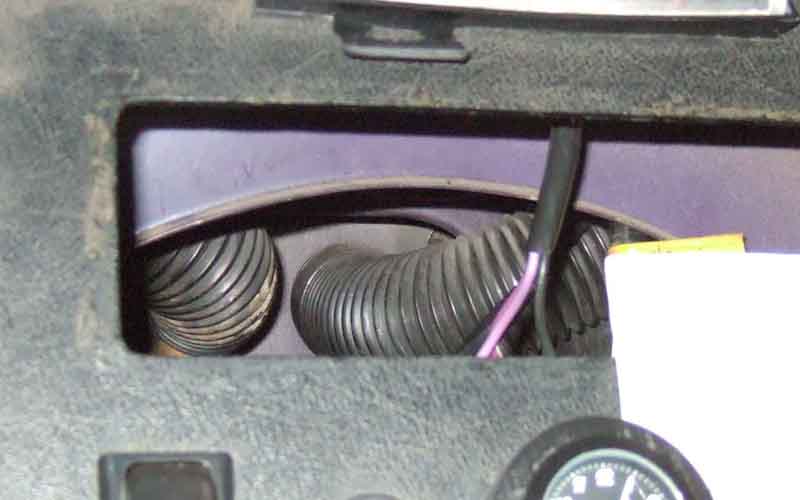
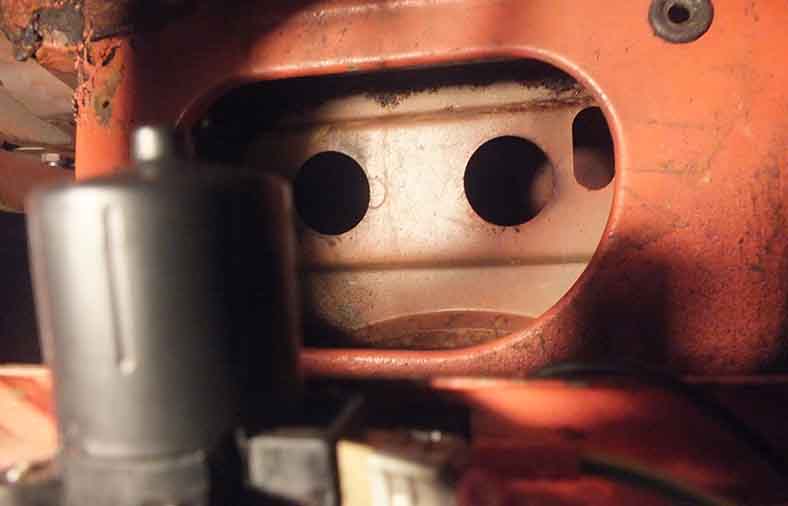
The tubes pass through the large aperture in the cabin-side bulkhead, and the smaller holes in the engine compartment-side bulkhead, direct to the rubber block seal.
Even clearer is this image on a chrome bumper shell that could be as early as 1971. (Graham Barker)
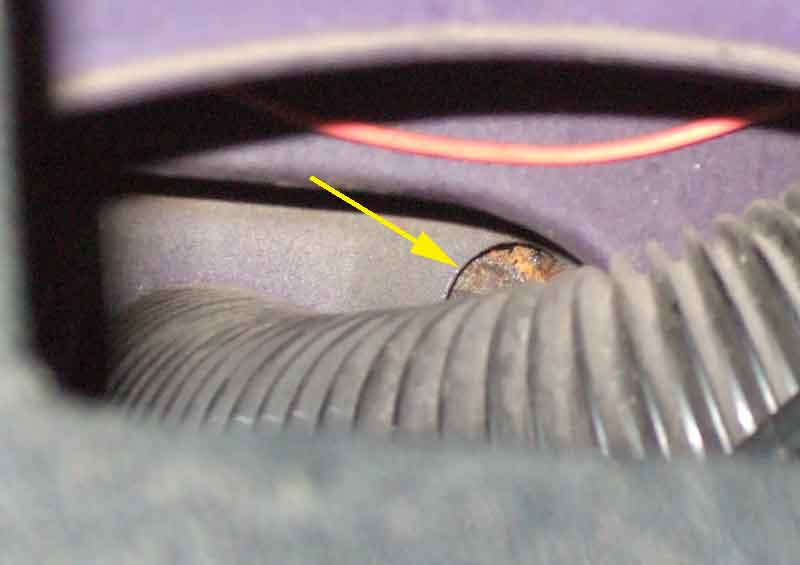
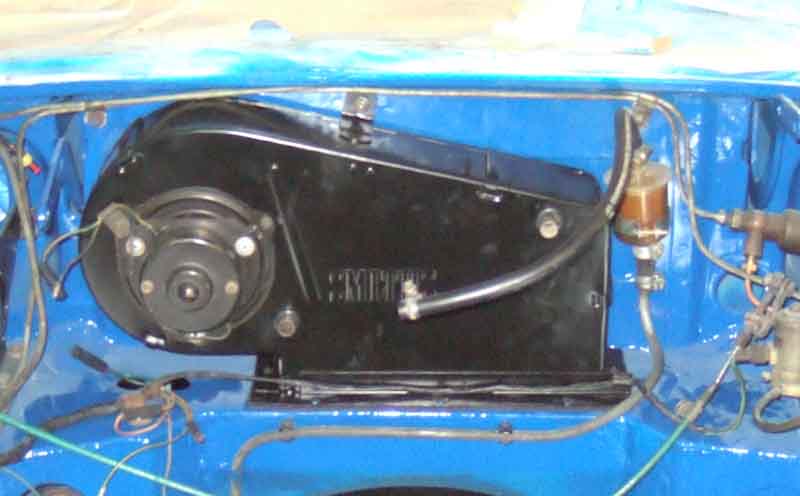
Engine compartment side, on Vee (1975), corrugated tubing visible behind the panel. These just push into the rubber block which fits into a recess in the bulkhead.
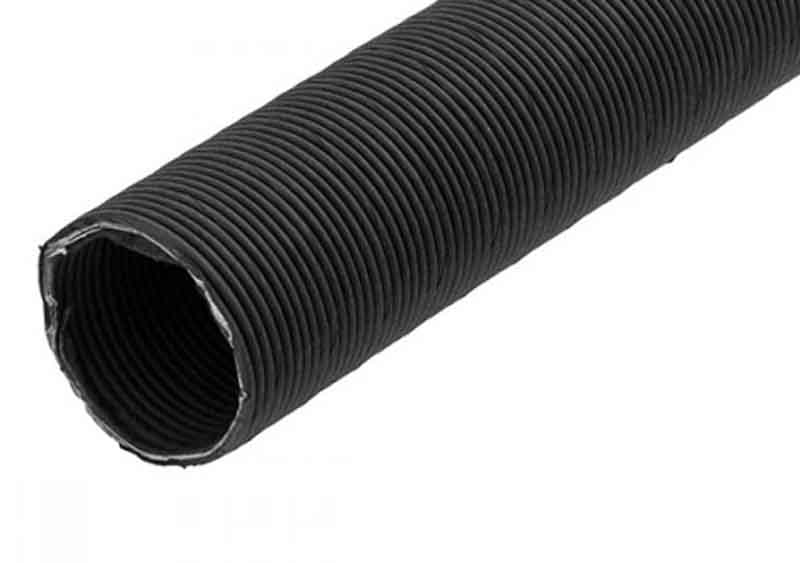
The only vent tube that seems to be available now is this AHH5428 'paper and foil' type which I doubt handles the bends as well as the original corrugated plastic type, and is a horrendous Ł18! Each!!: (Moss Europe)
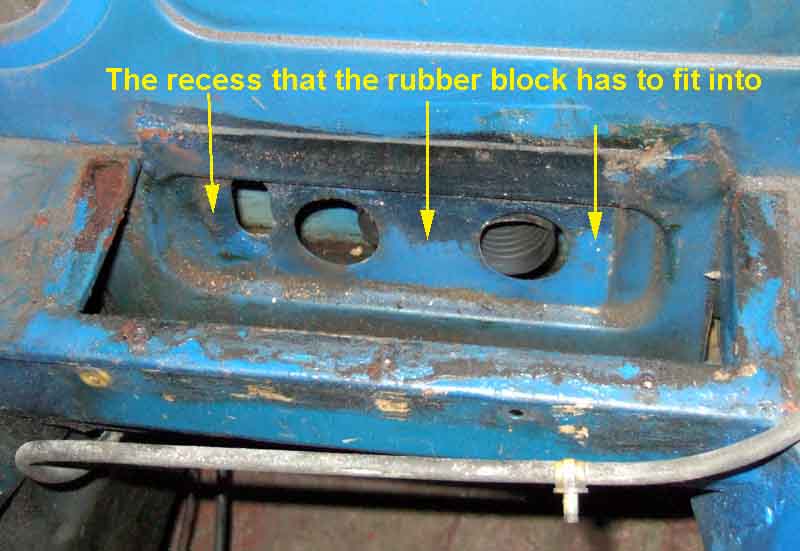
The block gets thicker towards the top, so has to be compressed more and more to fit into the recess. At point 'B' it is being compressed by half to the thickness at 'C'.

'A' is the thinner part of the block that is above the recess. There may be some scope for thinning the block at the shaded areas, so there is less to compress.

New block (BHH389) trimmed with a craft knife, leaving the full thickness of the material around the vent holes. As suspected the bottom of the heater was 1/4" forwards of where it needed to be to be pushed down into the cavity. But daubing both the face of the block and the back of the cavity with Swarfega as a lubricant, as well as reducing the thickness over most of the upper edge, allowed me to wedge the left-hand corner in.
After that pressing down and wiggling got the rest of the bottom of the heater into the cavity, then pushing straight down was relatively easy - especially with no engine!
However Brian Wall of Exeter MG Owners Club opted to stick it to the bulkhead rather than the heater, and once lubricated the heater went in (and came back out) easily. It also struck me that without the heater it would be easier to fully seat the demister tubes in the block, doing it purely from the cabin was quite a fiddle. But then again, there are protrusions around the demister outlets on the heater that would have to be pushed down the face of the rubber block, but more importantly the clamp for the cable outer is inside the large slot in the rubber block. Given that I can't see how - with the heater I have - it could be installed with the rubber block glued to the bulkhead.