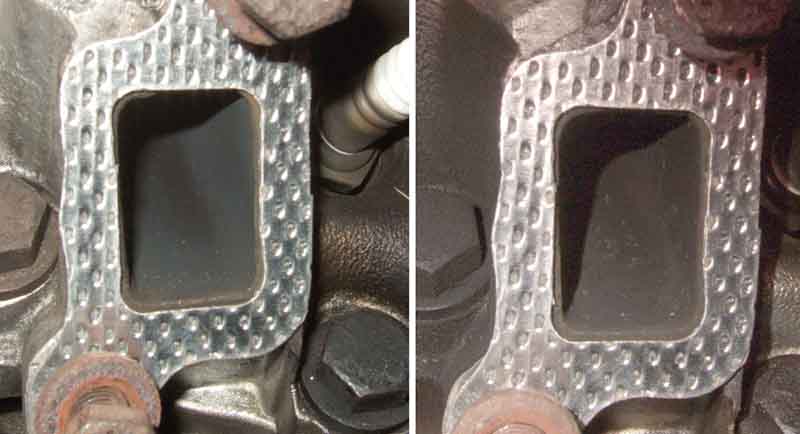
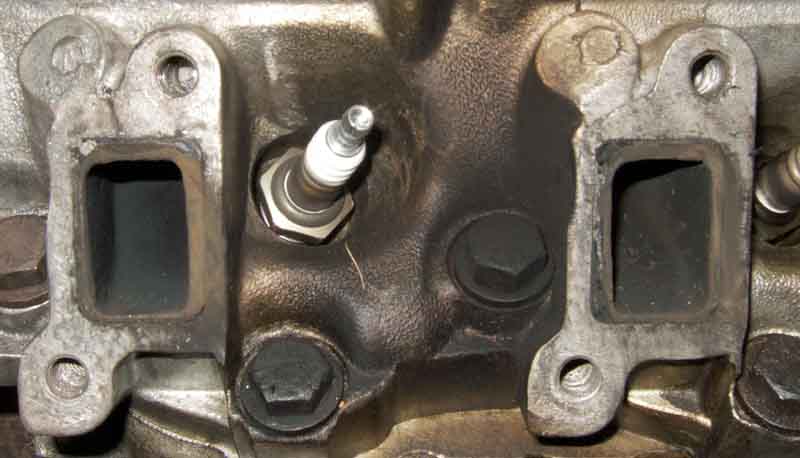
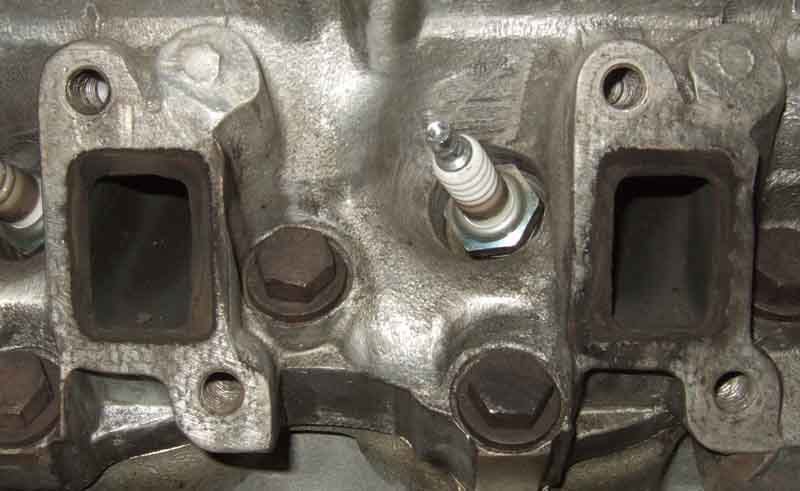
Good alignment of new single gaskets to head ports - near complete overlap with no blocking:
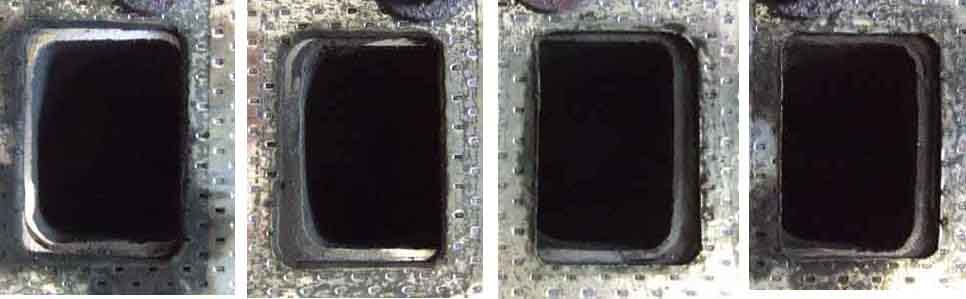
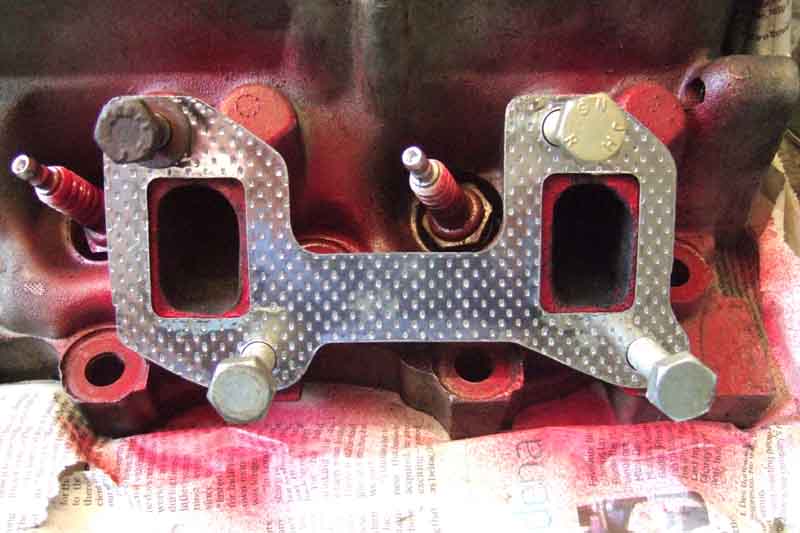
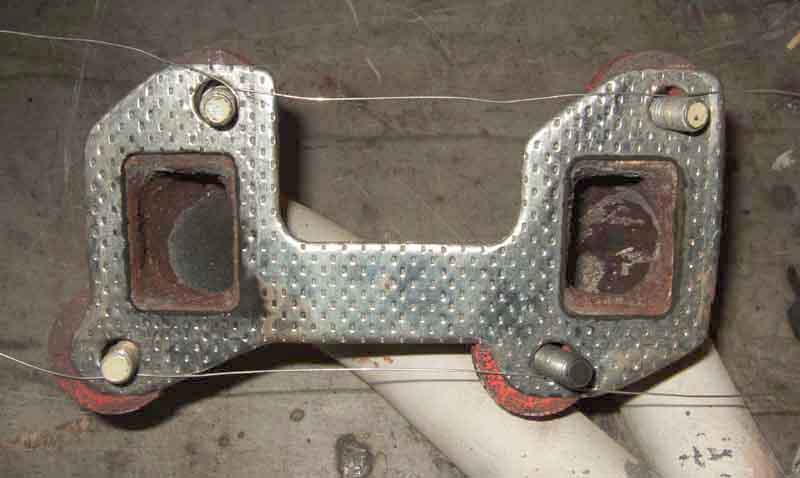
Poor alignment of single gaskets to manifold ports, all have some degree of obstruction, and signs of blowing on the outers:
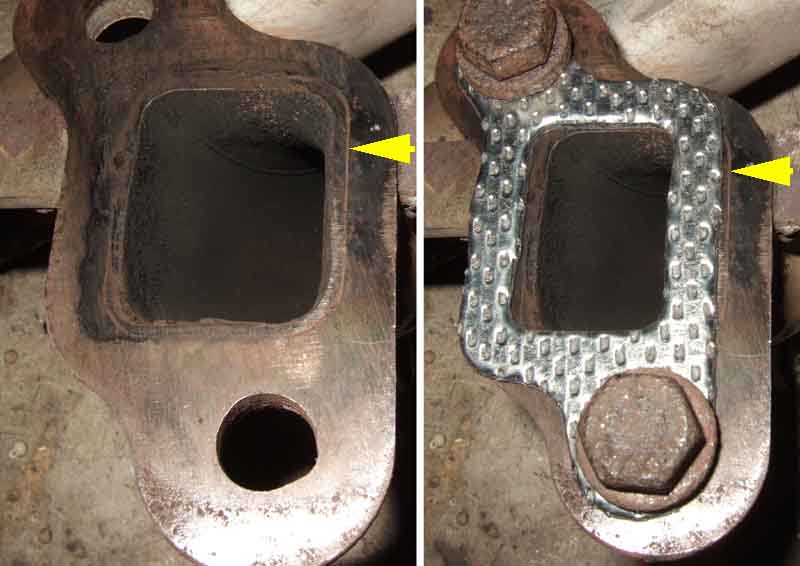
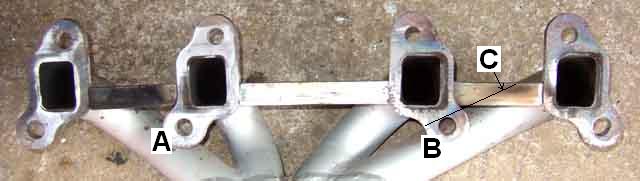
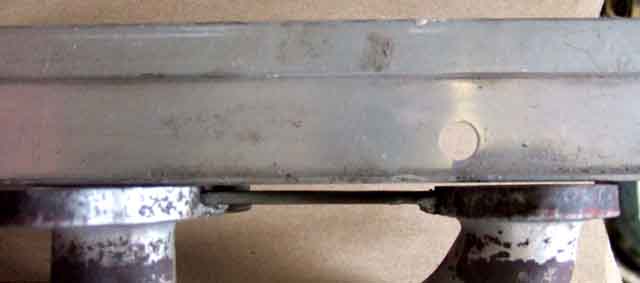
Over-size mounting holes in gaskets and manifold flanges allow quite a bit of sideways movement of new single gasket. Pushed to the left as here it barely covers the thickness of the tube, the edge of which is indicated by the arrows, let along the flange. Better alignment pushed the other way with some obstruction. I may extend the side of the gasket holes slightly to give more even overlap and less obstruction relative to the manifold, at the expense of creating less and more relatively at the head:
Paired RV8-type gaskets. Alignment to the head ports (an old head sprayed red for clarity) good, but could do with being smaller to get a greater overlap:
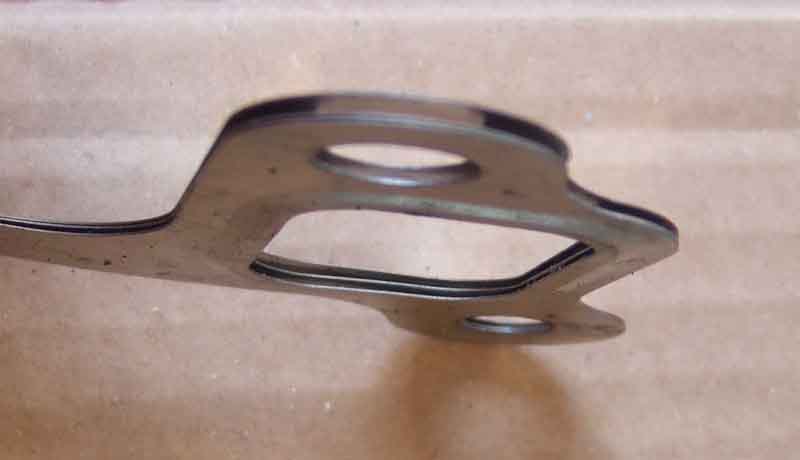
Land Rover items ERR6733 - 3-layer steel shim with a flat central layer, and compressible bulges round the ports on the outer layers. The flat sections are 25 thou thick and the bulged sections 63 thou, in theory giving up to 38 thou of squish to cope with manifold flanges not being completely flat to the head:
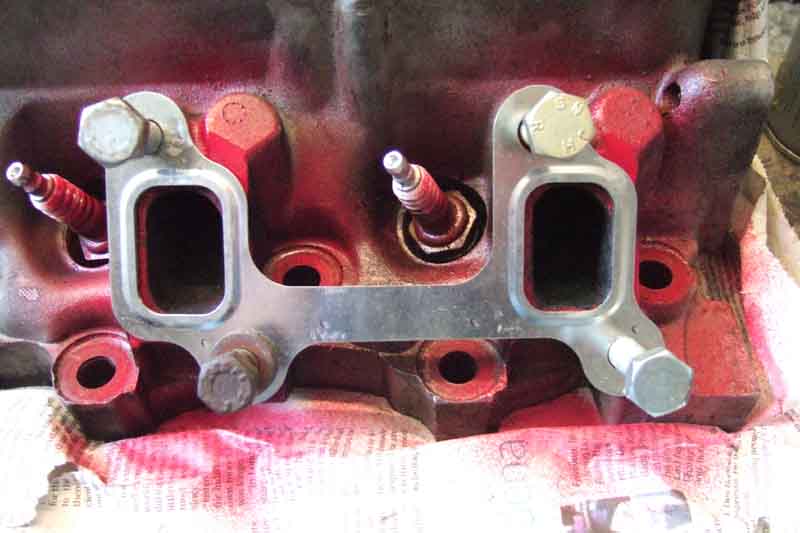
A better match to the head ports giving more overlap. Also two of the holes in each gasket (top left and bottom right here) are smaller and the bolts have to be screwed in, which means once the bolts are started in the head there is no scope for the gasket to move laterally as there is with other types:
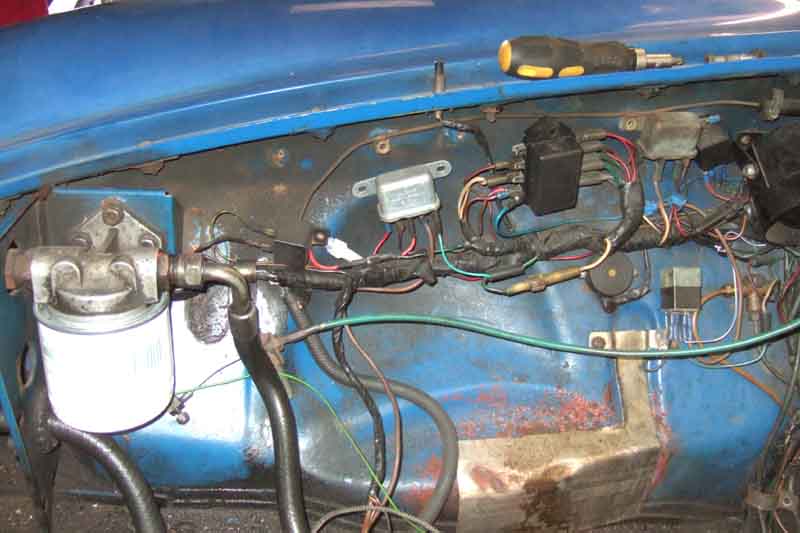
Vee had suffered from heat damage to the inner wings from the proximity of the exhaust manifolds, particularly on the off-side. It had caused the paint to burn off in the wheel arch, and eventually failed the MOT due to 'proximity to suspension components' even though there is a large hole just at that point for RV8 manifolds. I mentioned that and he said "They are supposed to be there, this isn't" and that was that:
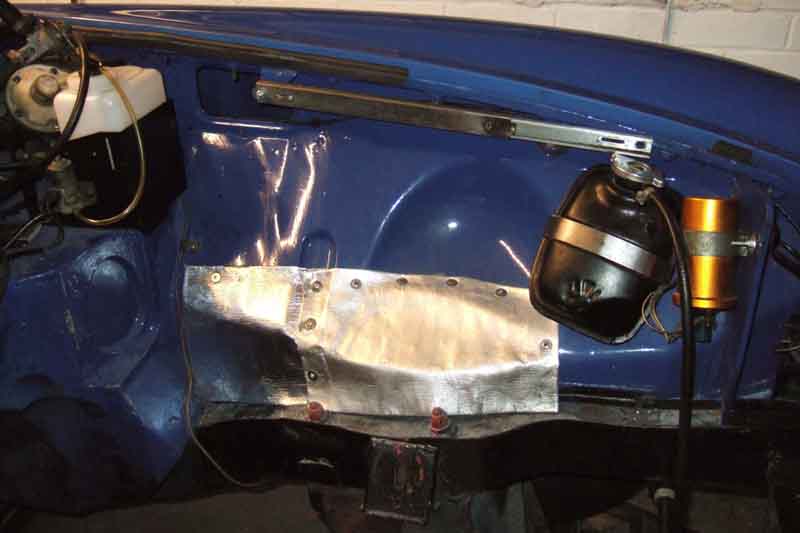
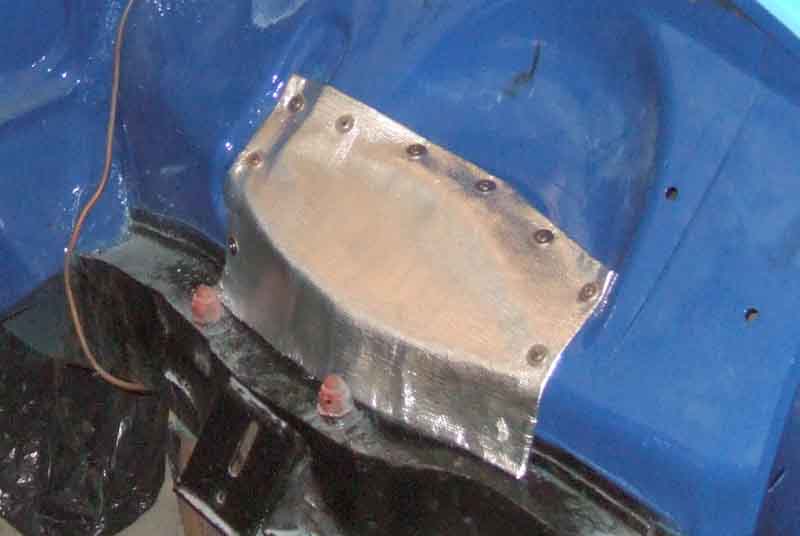
So I had welded in a patch and undersealed it both sides, and cut a section out of some stainless steel sheet from an old wooden door sill protector to cover the area inside the inner wing and act as a reflector, using a convenient tapped hole to attach it:
I stopped the worst of the damage reoccurring, but you can see the dents in it from the exhaust manifold hitting it which sometimes happened at start-up and caused the original damage:
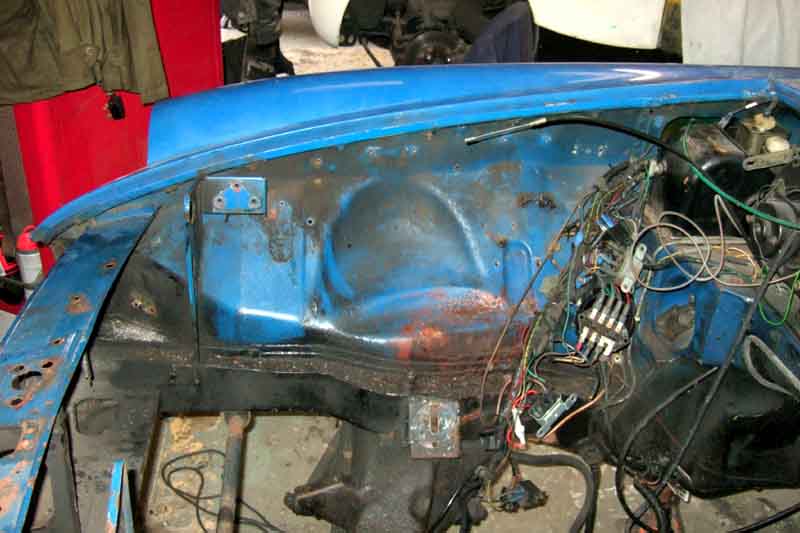
The other side not so bad but still there, so with the engine out and engine compartment stripped for a full body repaint I decided to something a bit better, and to both sides:

I was looking for 'silvered' heat insulating cloth and after a long search found exactly what I was looking for from the MGOC - 'Aluminium Cloth C068'. Not cheap at Ł30, but enough to do both wings several times over:
Initially I only covered the area of the damage, but when the engine went back in I realised the manifold extended further back than that and the rear half of the manifolds was not protected, and looked a bit odd. So with the engine out again for gearbox repair I decided to extend it. I was planning on completely replacing it, but the stainless pop-rivets I had used were really hard and just spun when attempting to drill them, so I settled for grinding the heads off just the rear three, slipping an additional section under that edge, and re-riveting, on both sides: